Organization
The Organization feature allows you to centrally manage risks and permissions scattered across multiple Projects. Organization permissions are managed by a separate "Organization IAM." For details about Organization IAM, please refer to Organization IAM .
How to Use Organization
Switching to Organization Mode
Switch to Organization Mode
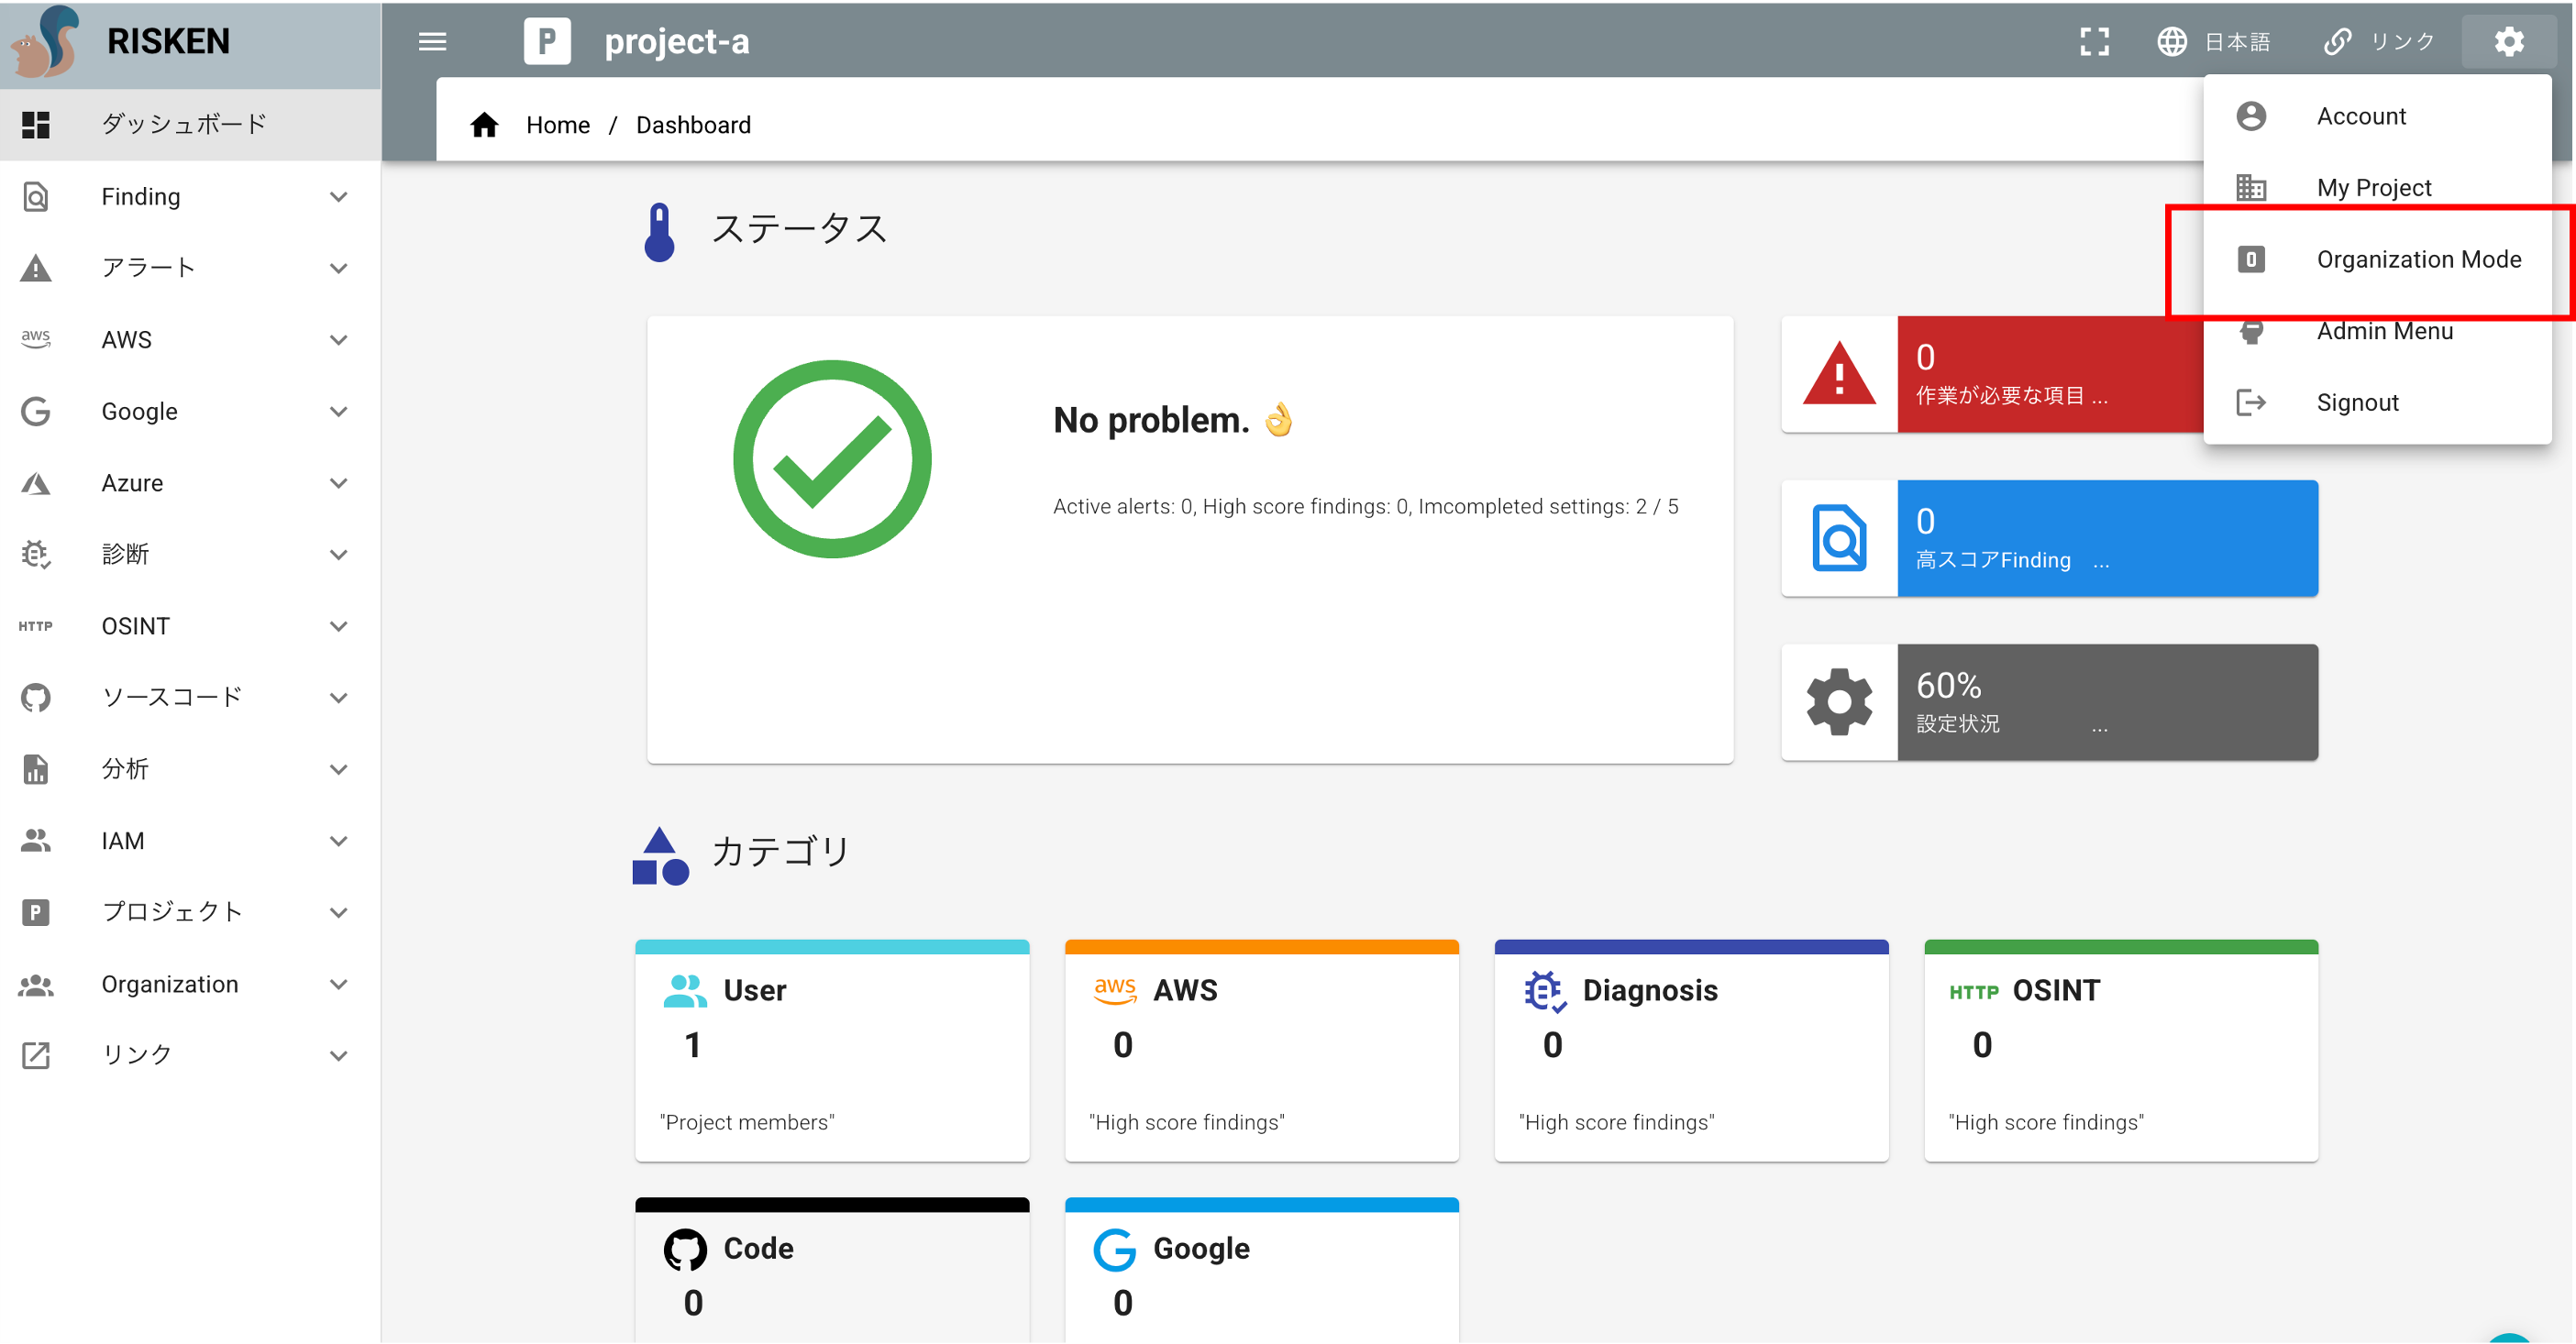
- While in Project Mode, click the
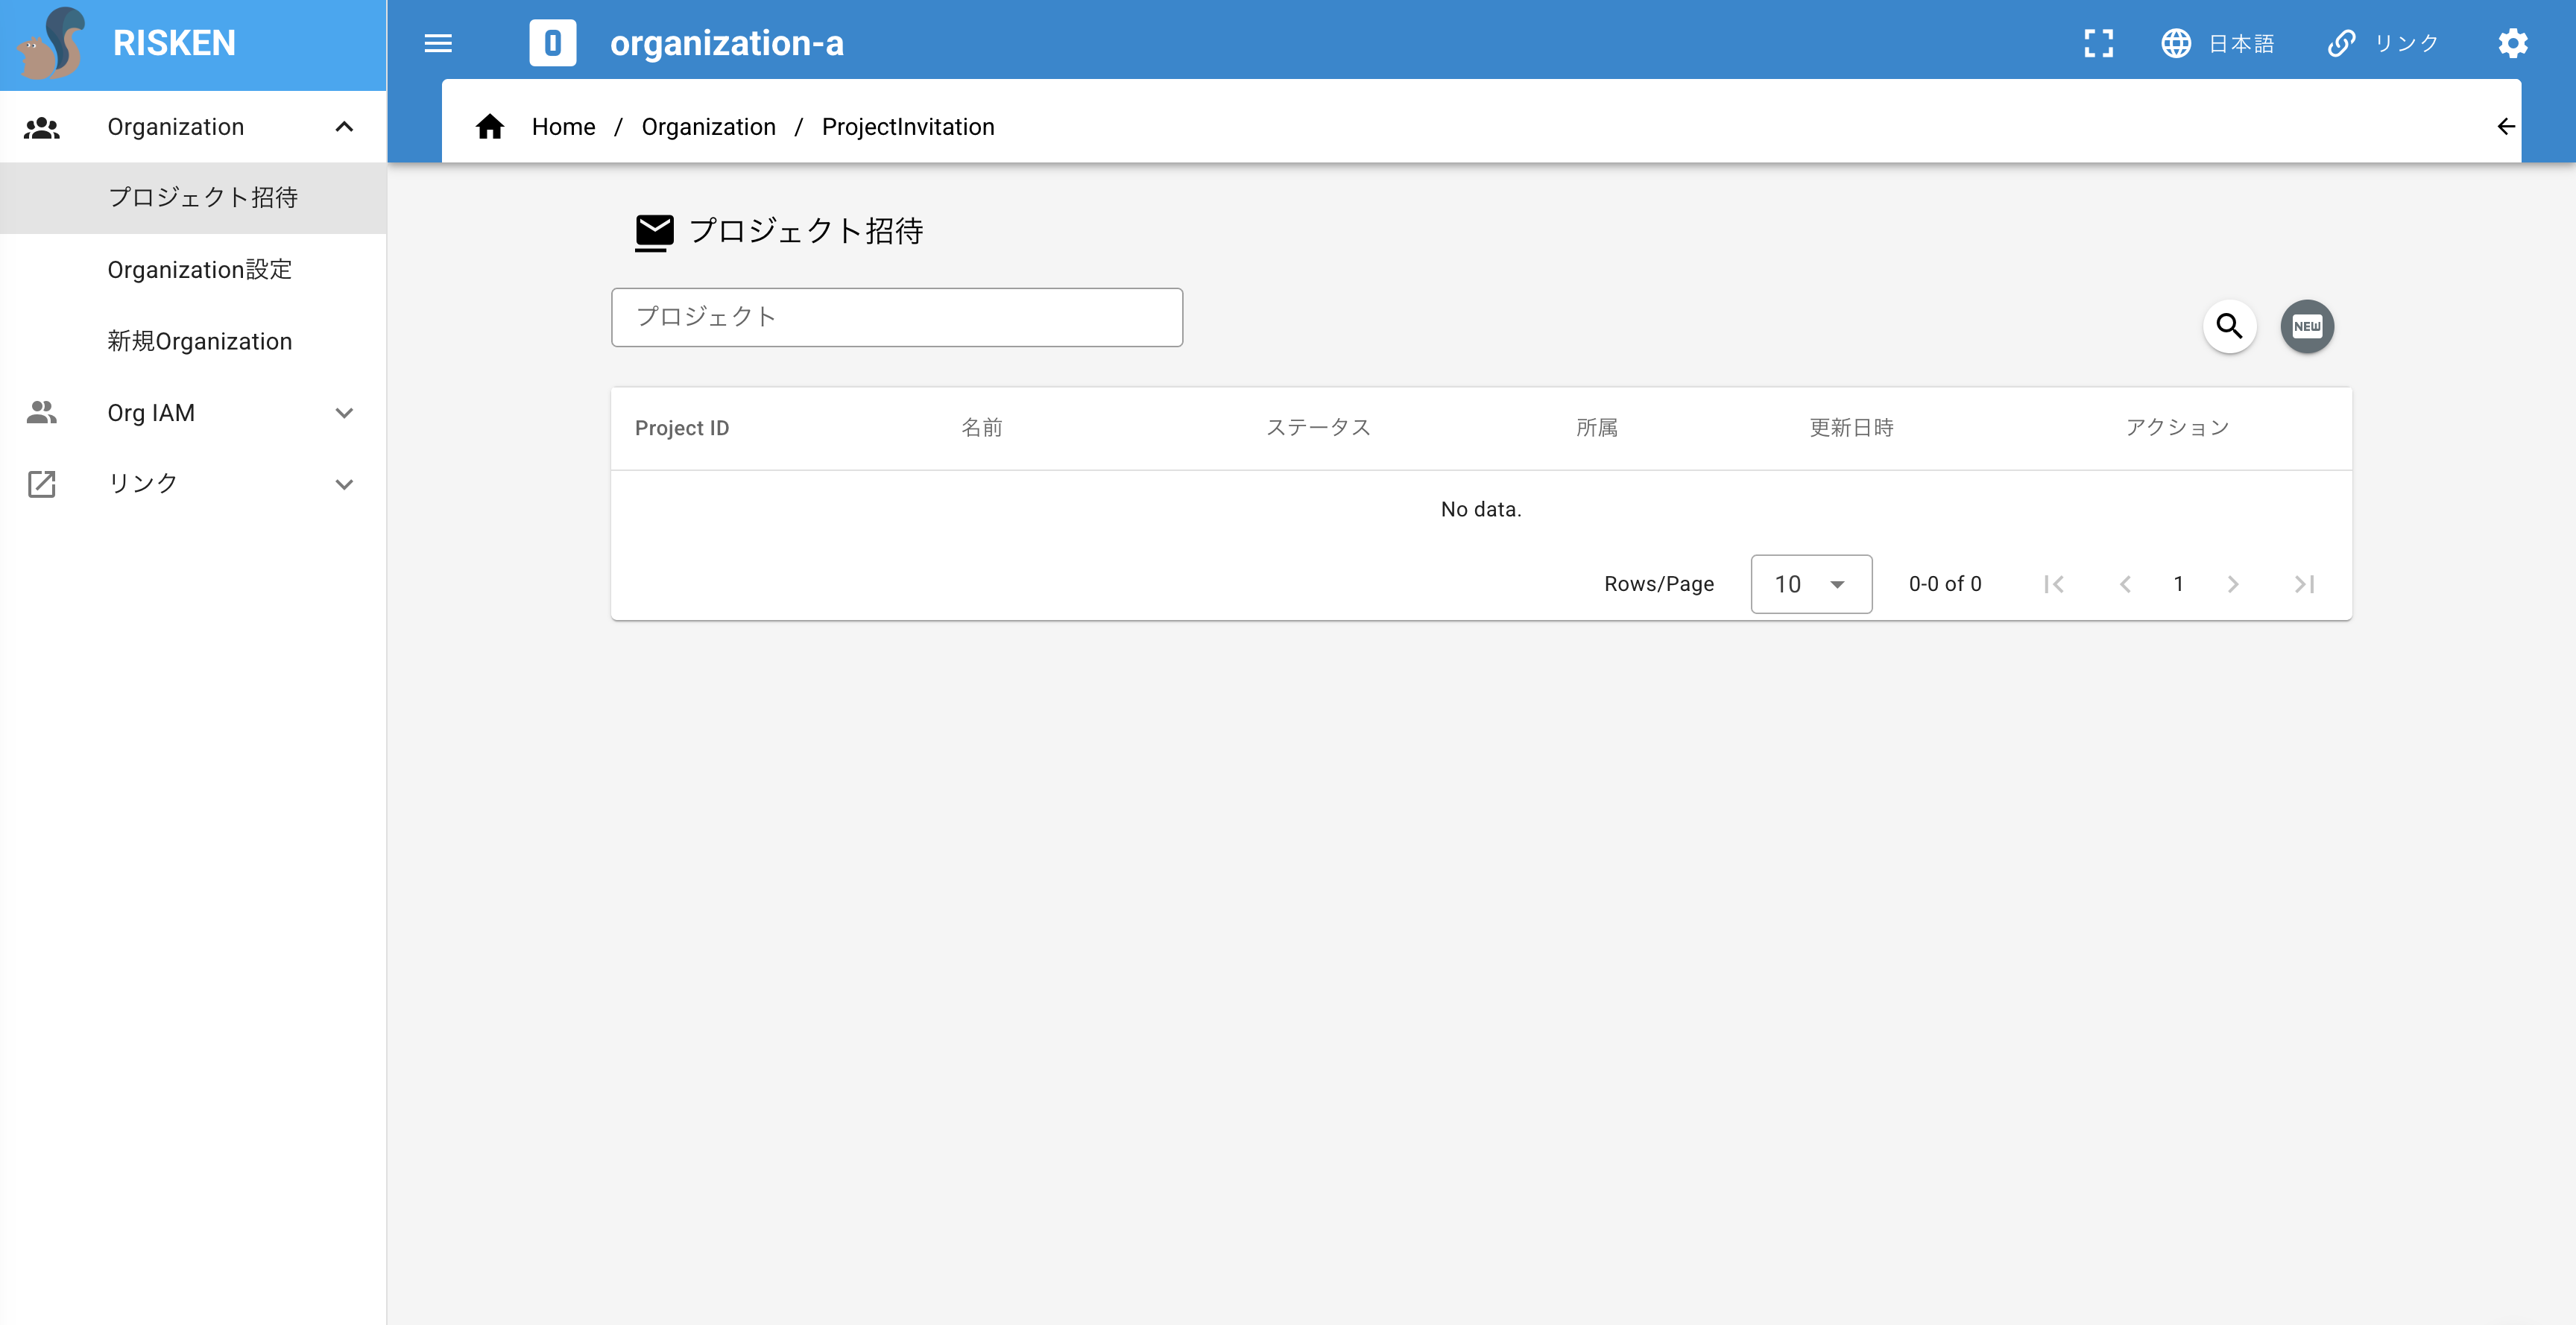
Organization Modebutton from the dropdown menu at the top right of the screen. - If the switch is successful, the
Pin the top menu will change toO, and you will be redirected to the Project invitation screen.
Switch to Project Mode
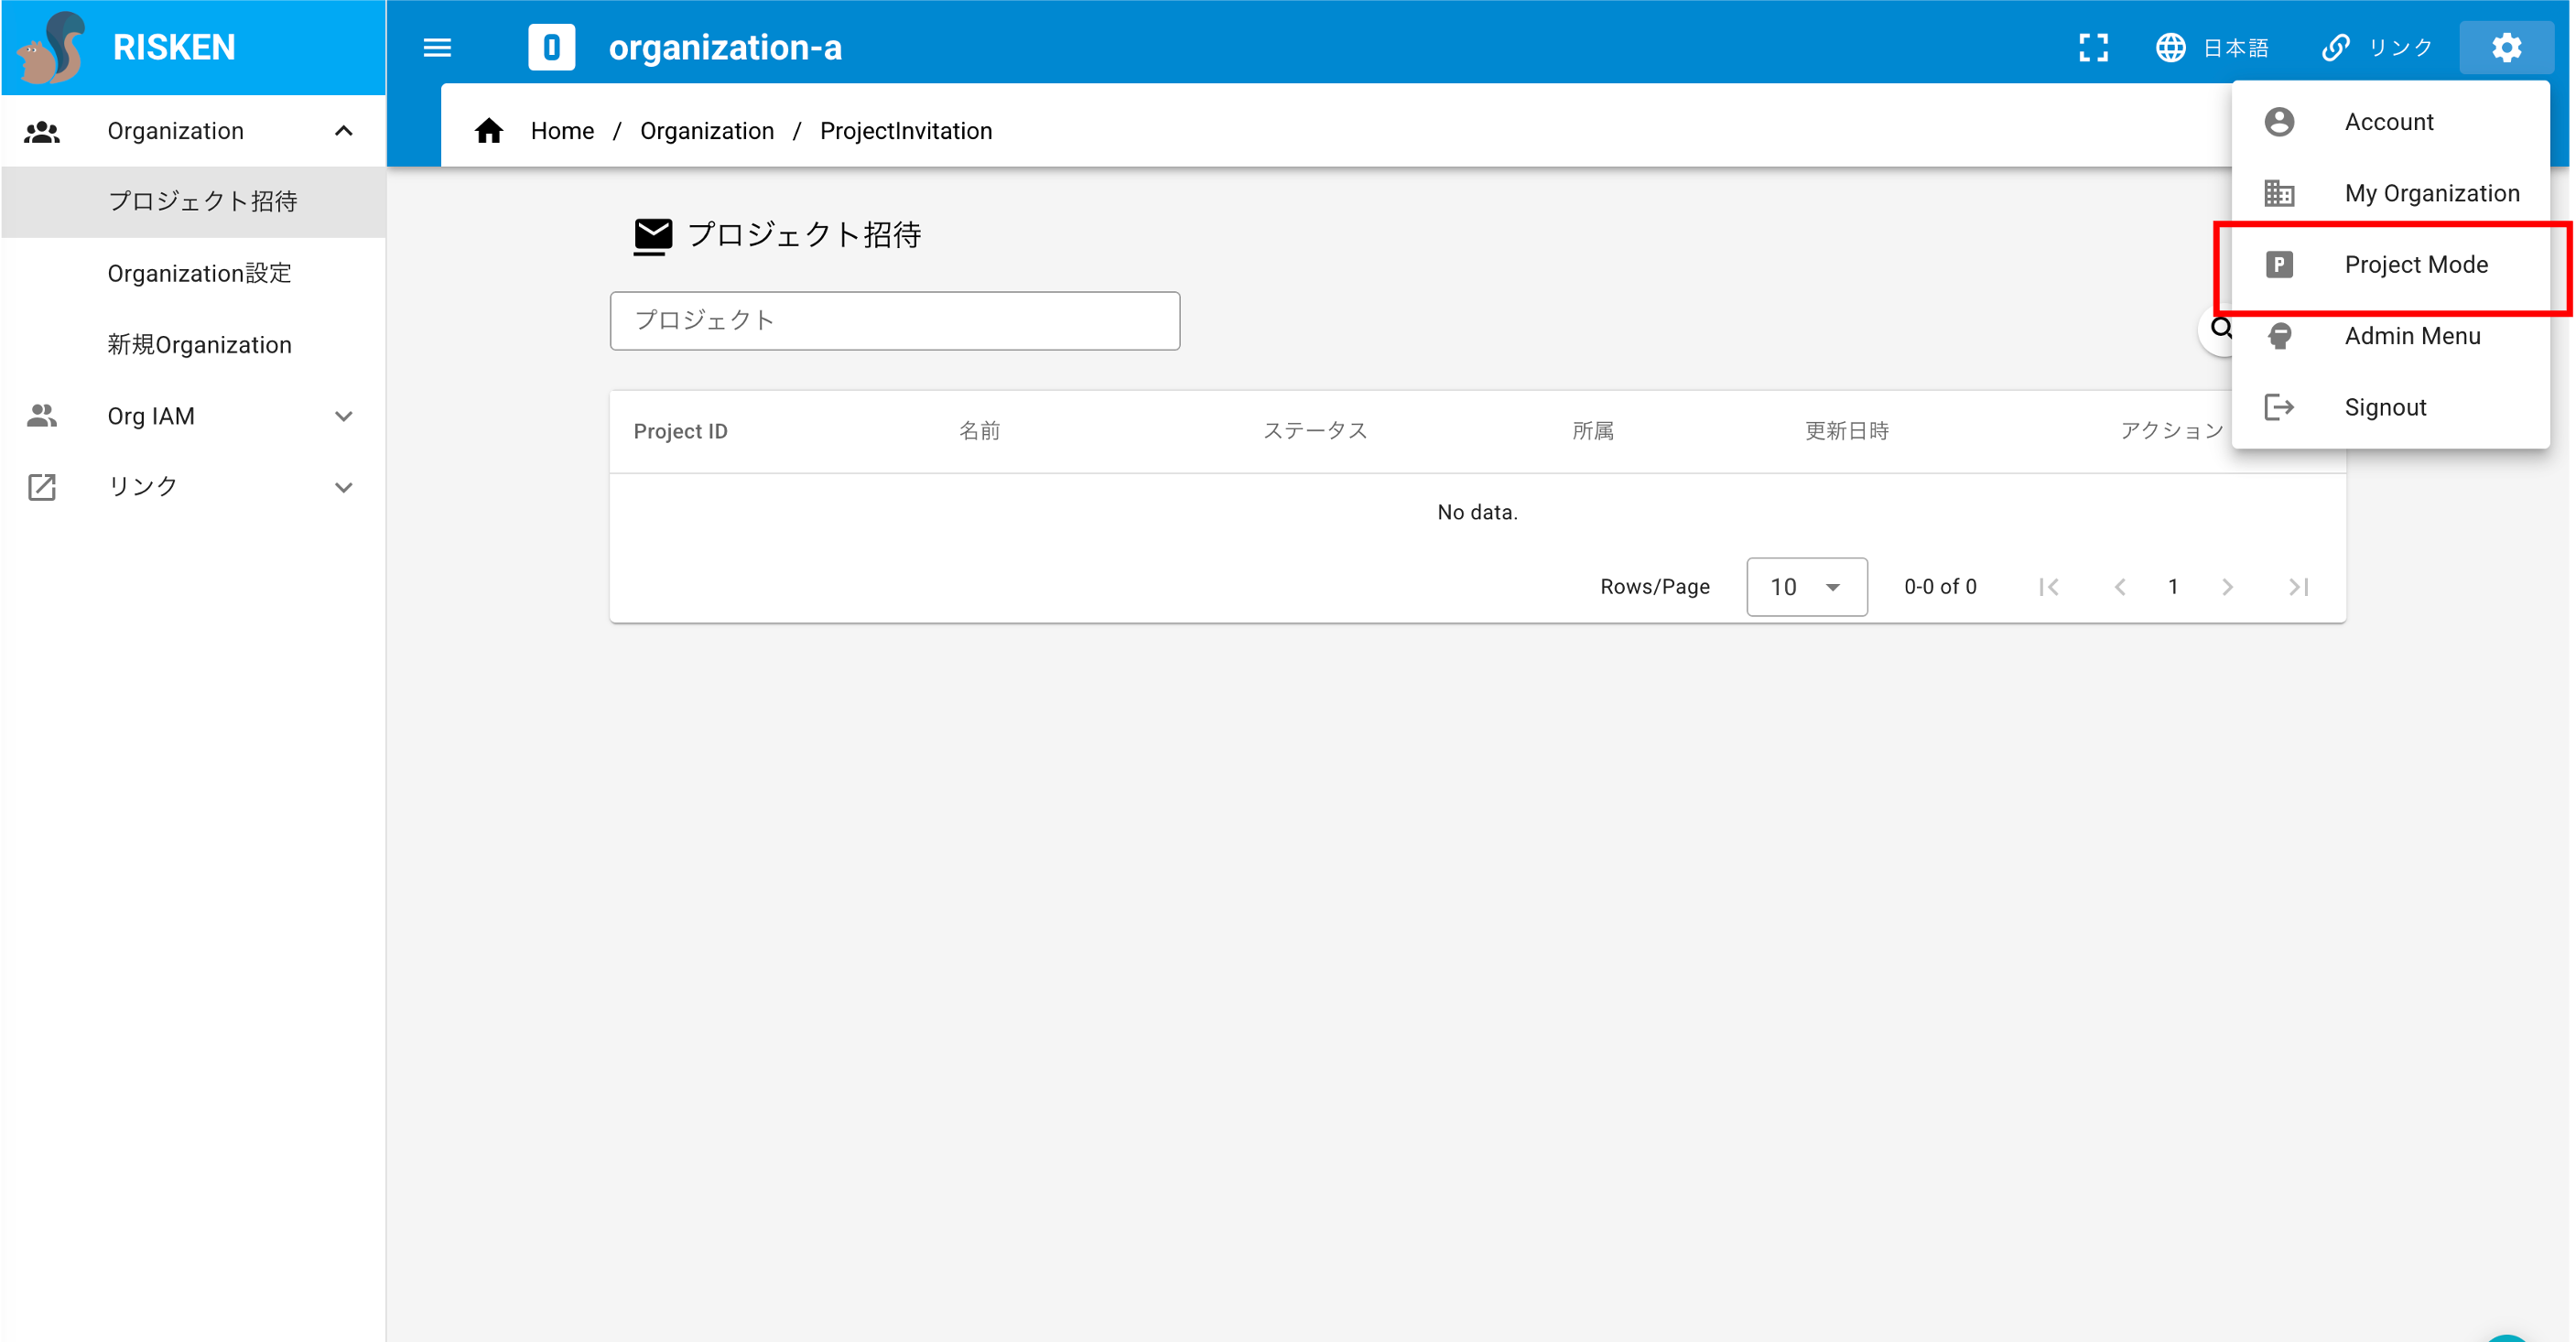
- While in Organization Mode, click the
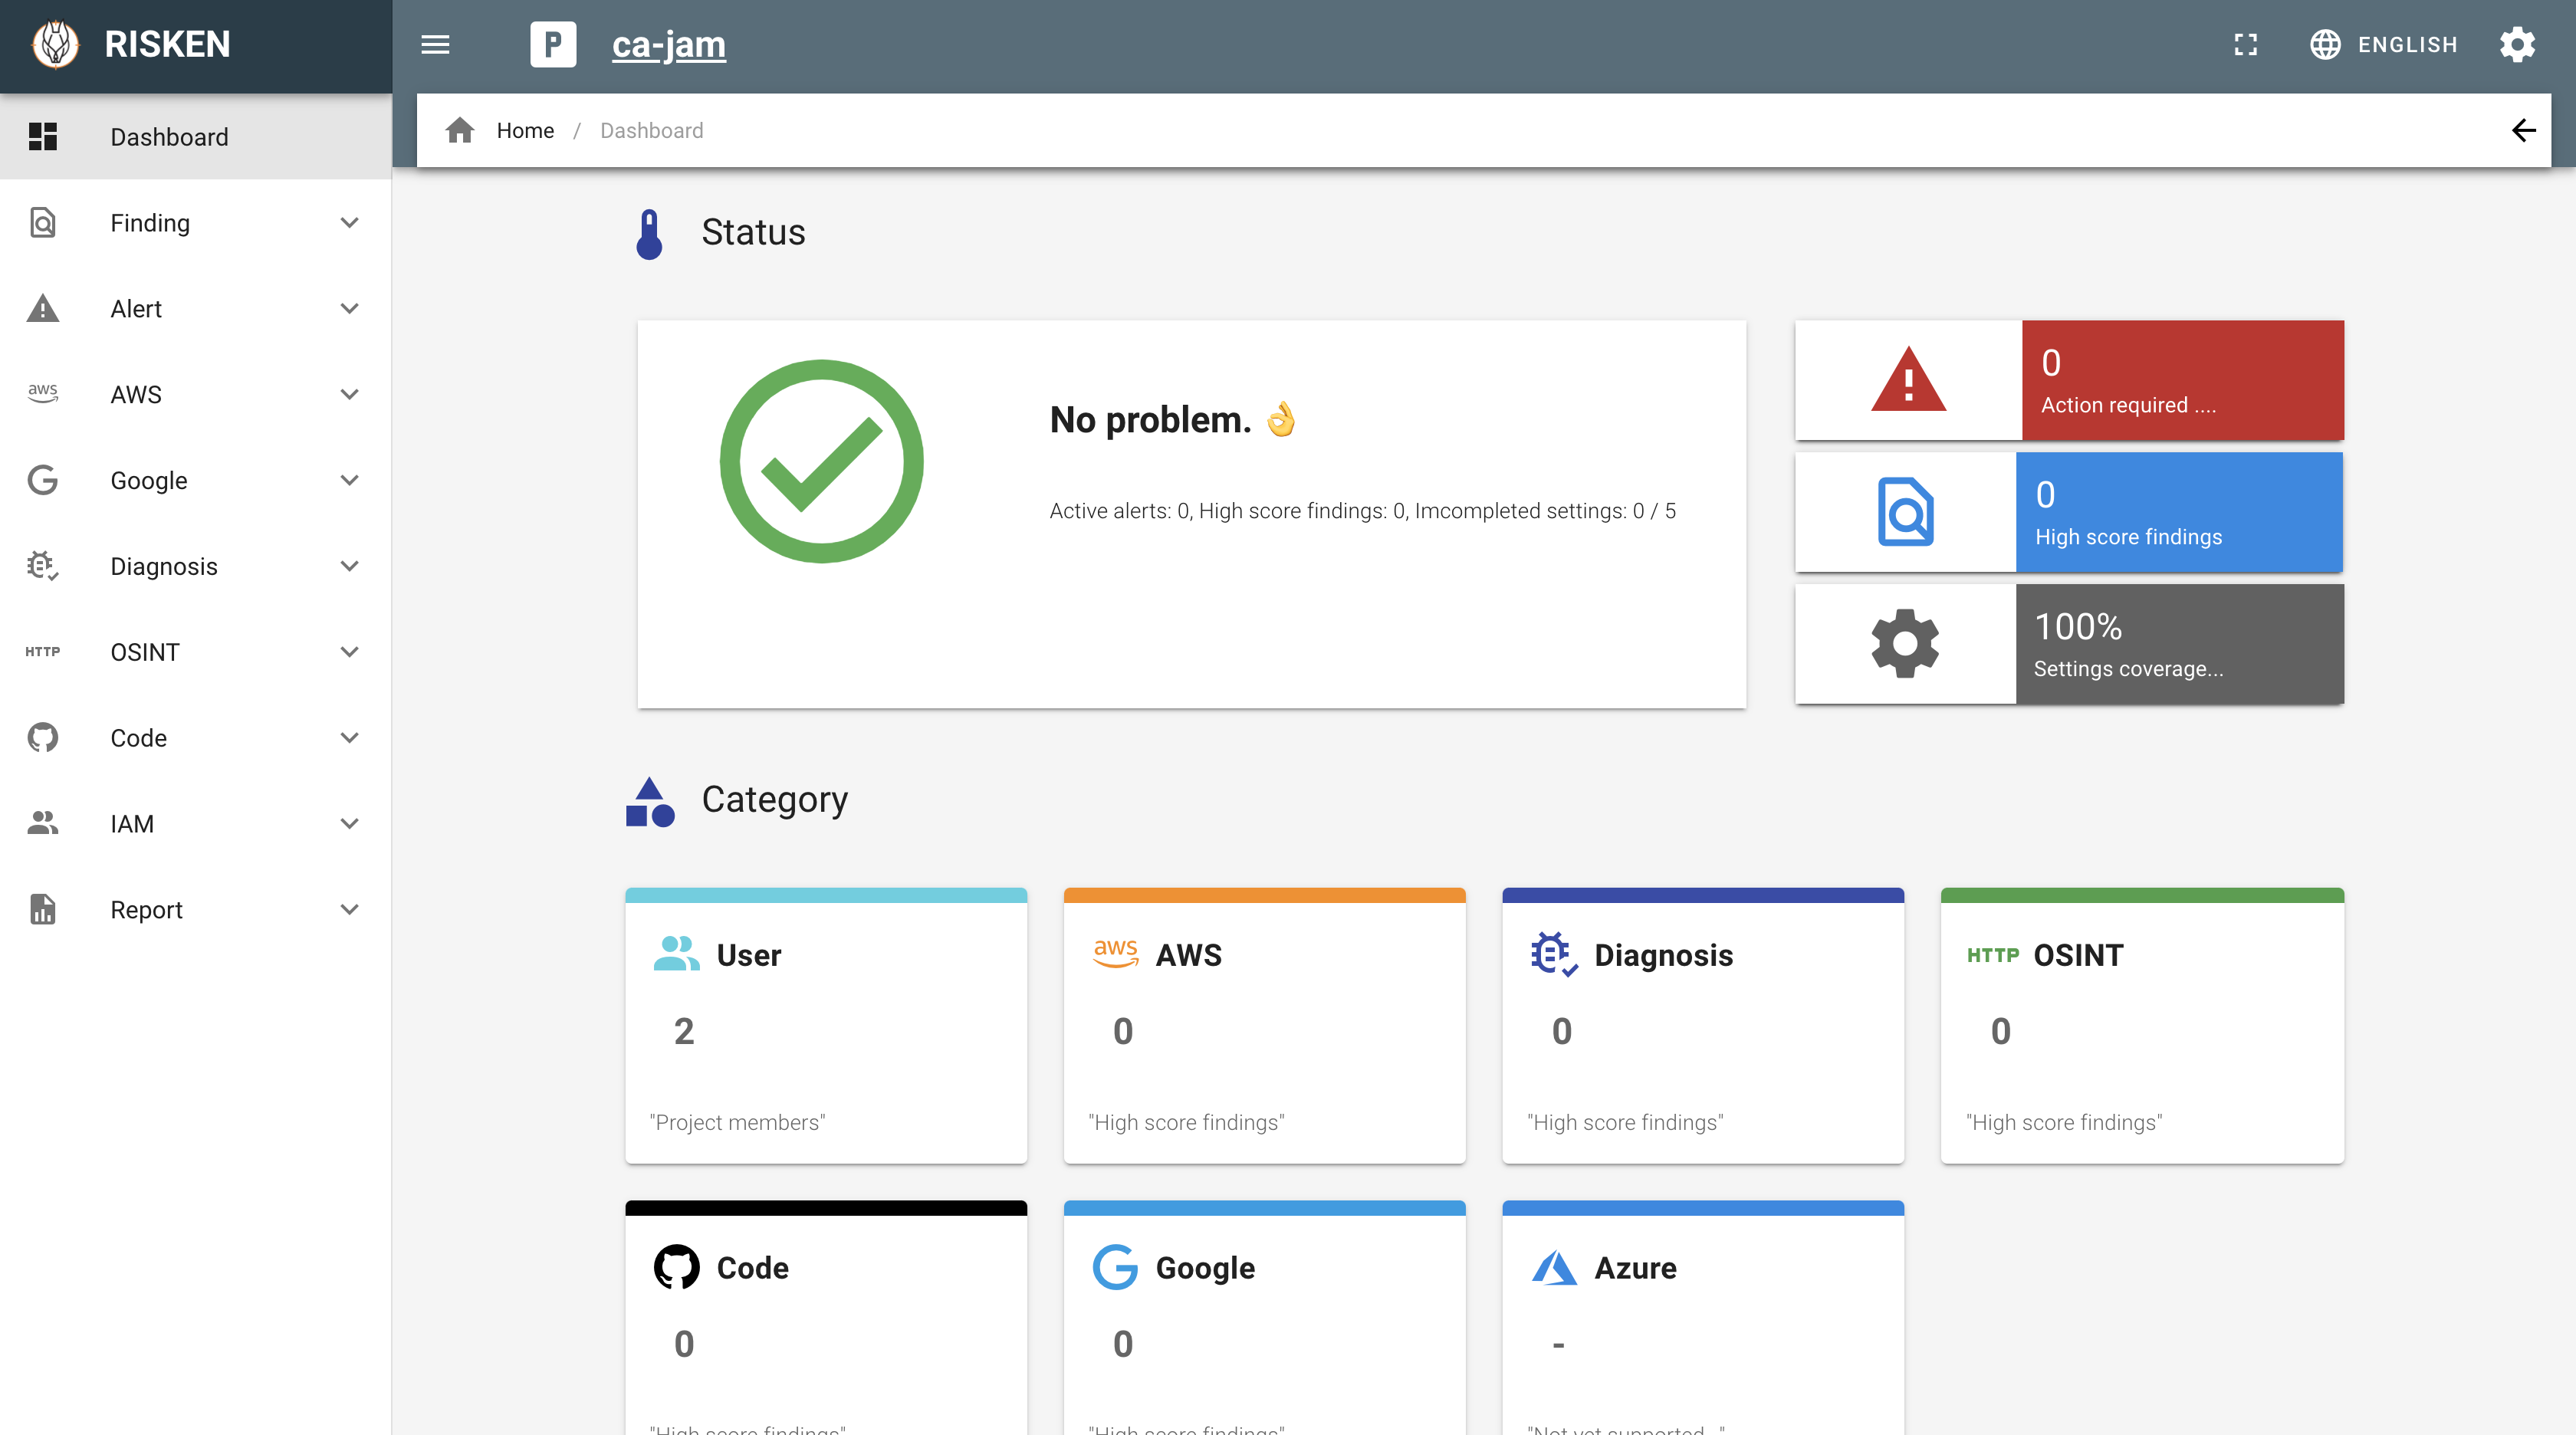
Project Modebutton from the dropdown menu at the top right of the screen. - Once the switch is complete, the
Oin the top menu will change toP, and you will be redirected to the Project dashboard screen.
Creating a New Organization
- Click the
Obutton in the top menu. - In the Organization dialog, click the
CREATE NEW ORGANIZATIONbutton. - On the Organization creation screen, enter the Organization name and an optional description, then click
CREATE. - Once created, the Organization name will appear in the
Osection of the top menu, and you will be redirected to the Organization invitation screen.

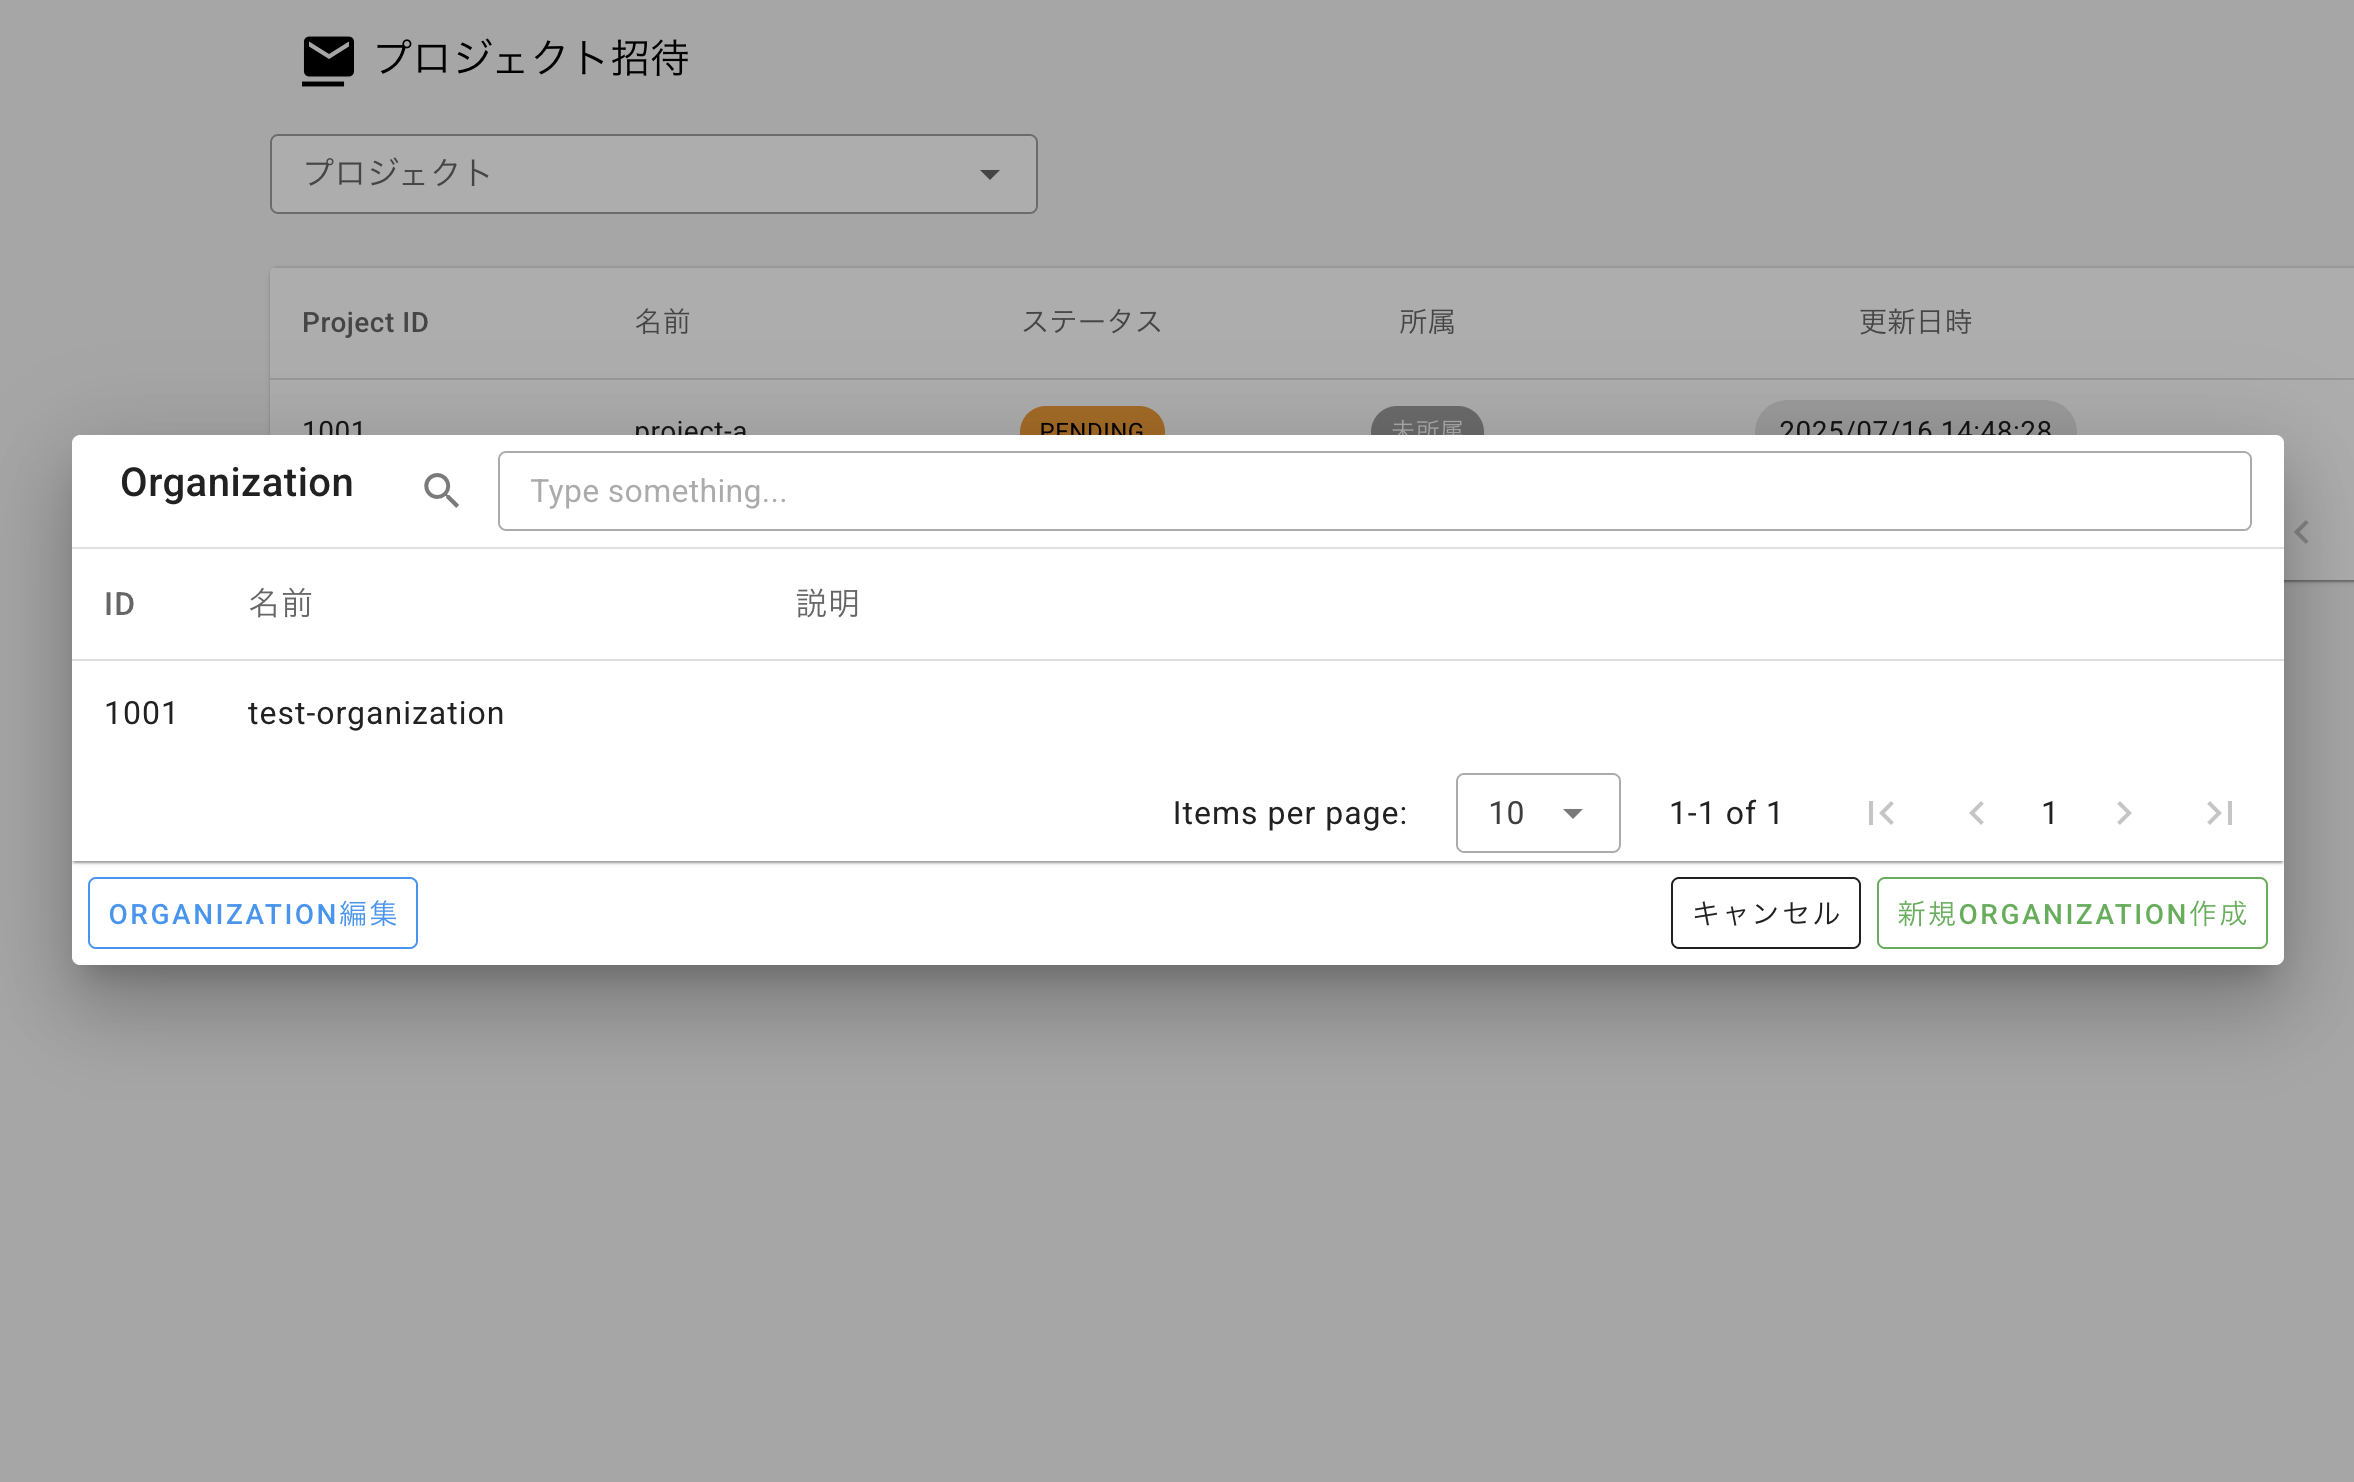
Editing an Organization
- Click the
Obutton in the top menu. - In the Organization dialog, click the
Edit ORGANIZATIONbutton. - The Organization edit screen will be displayed.
- To change the Organization name or description, edit the
NameorDescriptionfields and click theSavebutton.
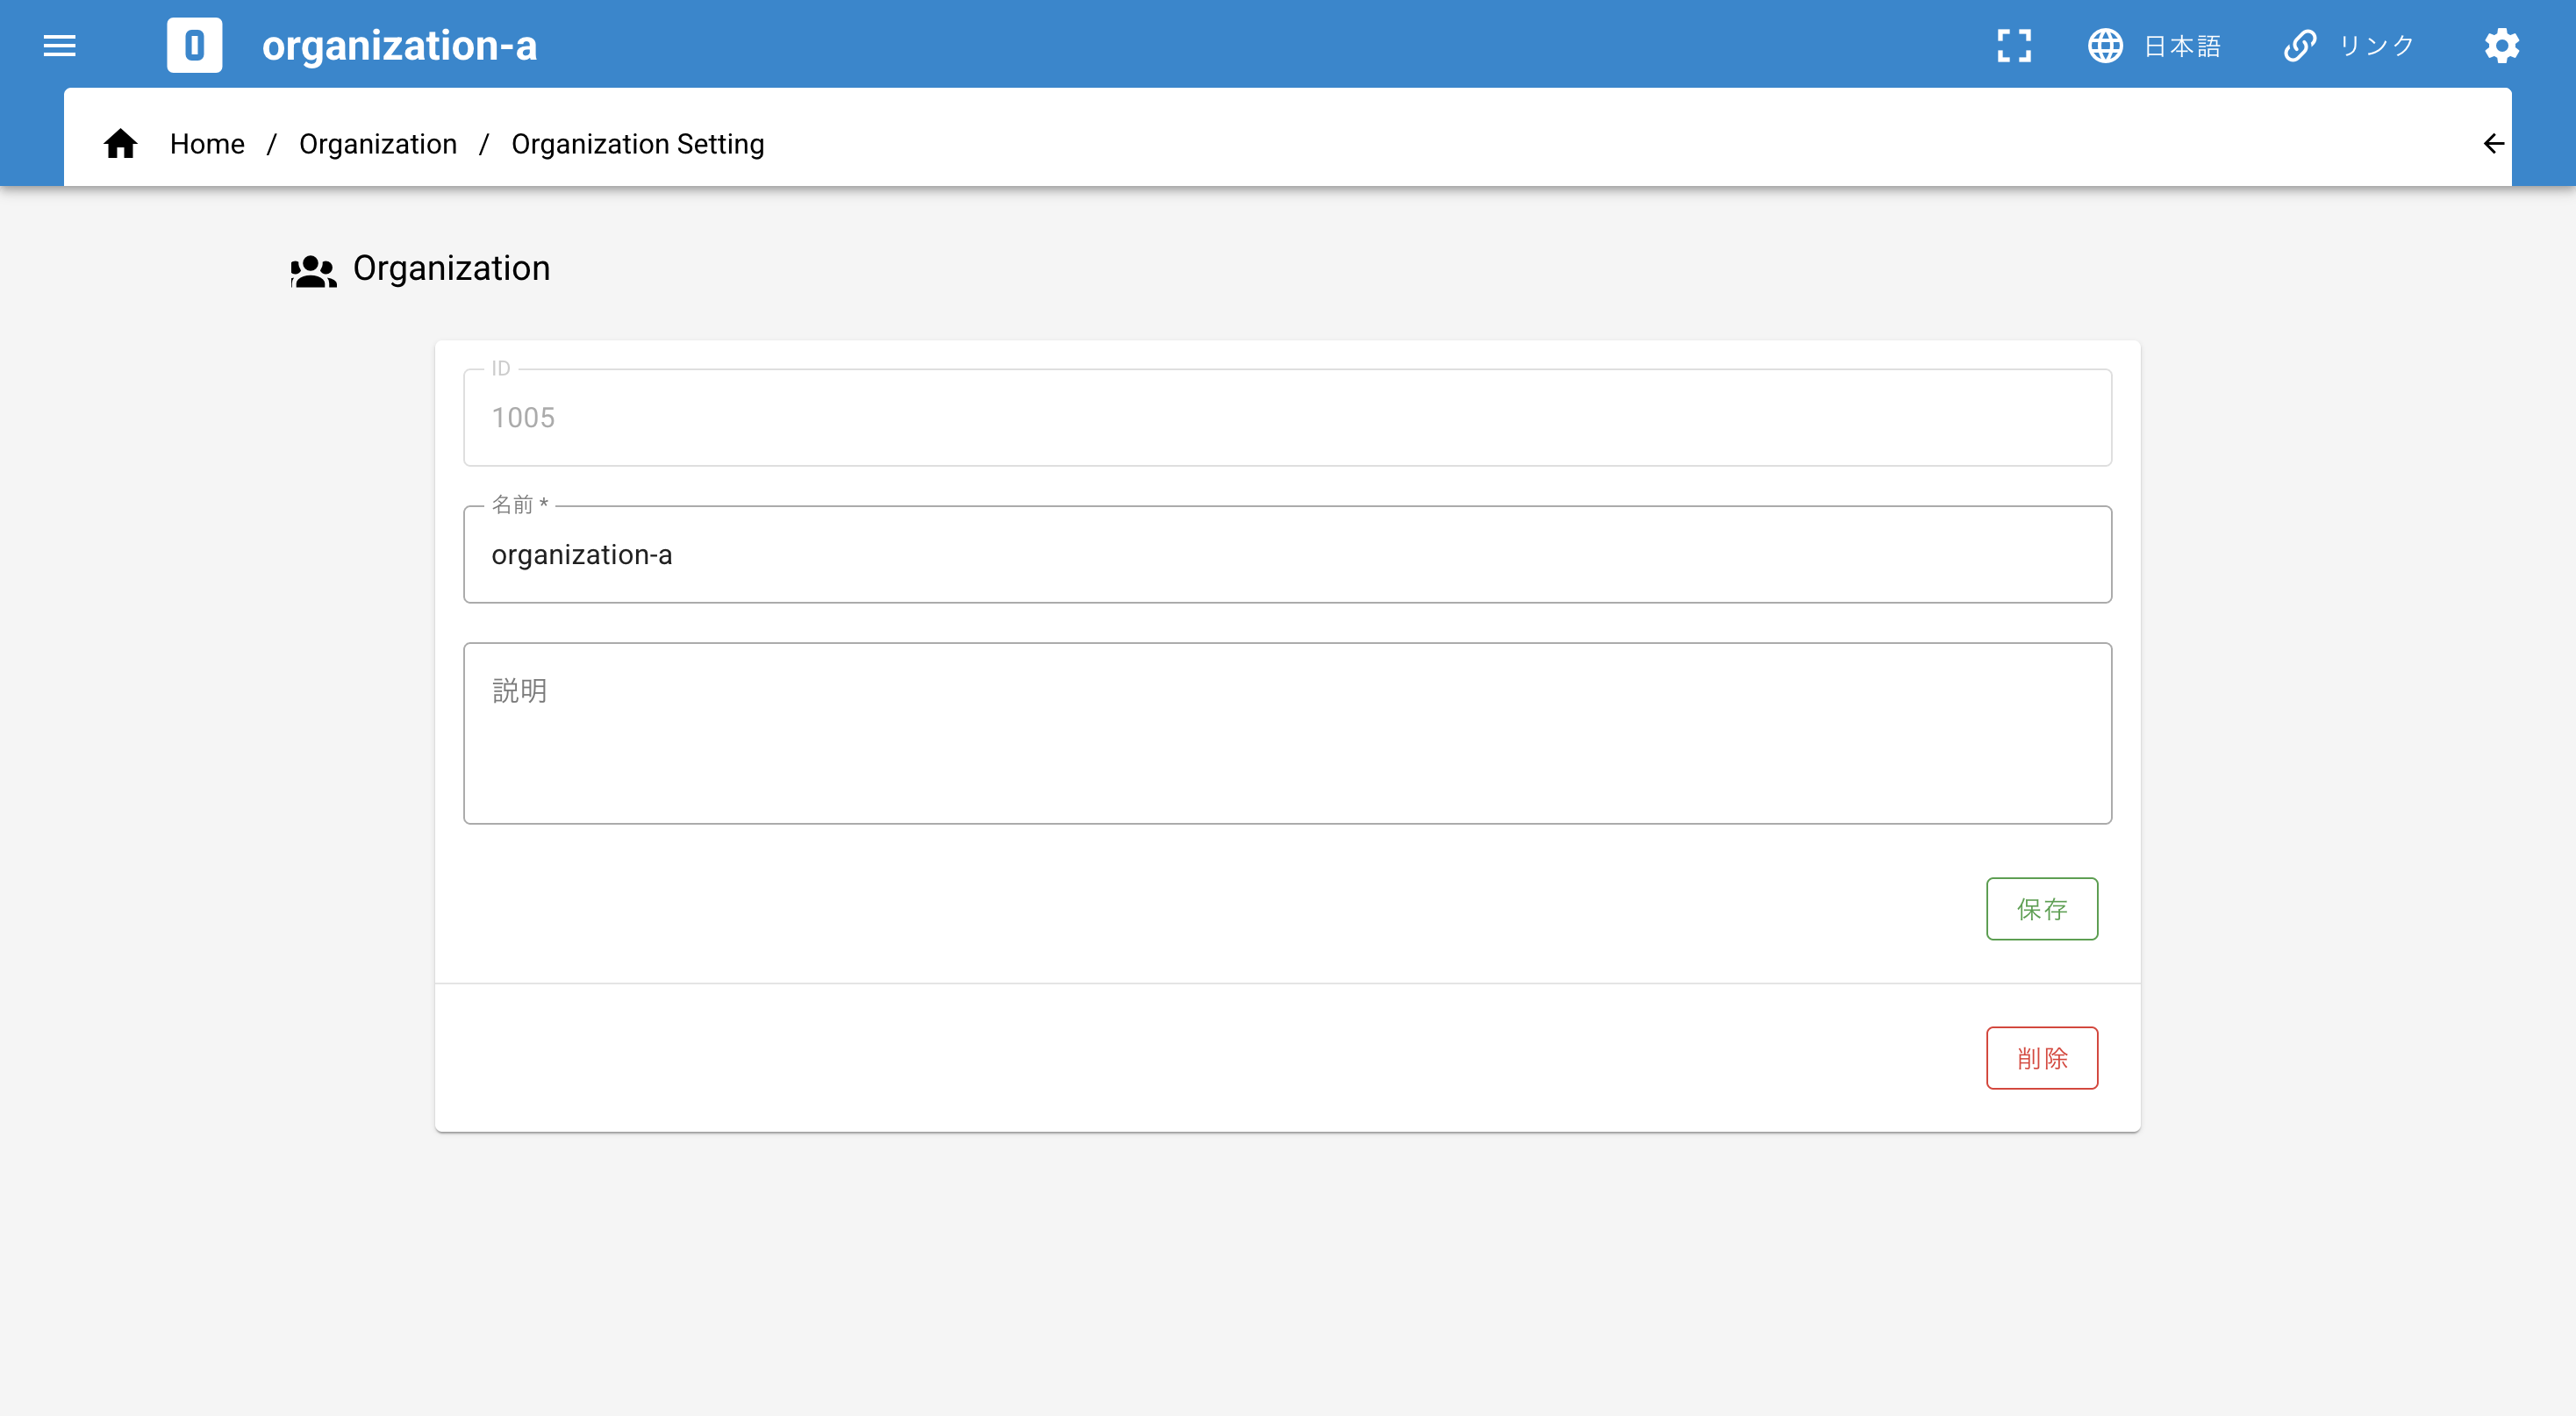
Deleting an Organization
To delete an Organization, follow the steps below.
Warning
Please note that once an Organization is deleted, it may not be recoverable.
- Click the
Obutton in the top menu. - In the Organization dialog, click the
Edit ORGANIZATIONbutton. - The Organization edit screen will be displayed.
- Click the
Deletebutton.
Inviting Projects to an Organization
To centrally manage Projects in an Organization, invite Projects to the Organization. Projects can join the Organization by accepting or rejecting the invitation.
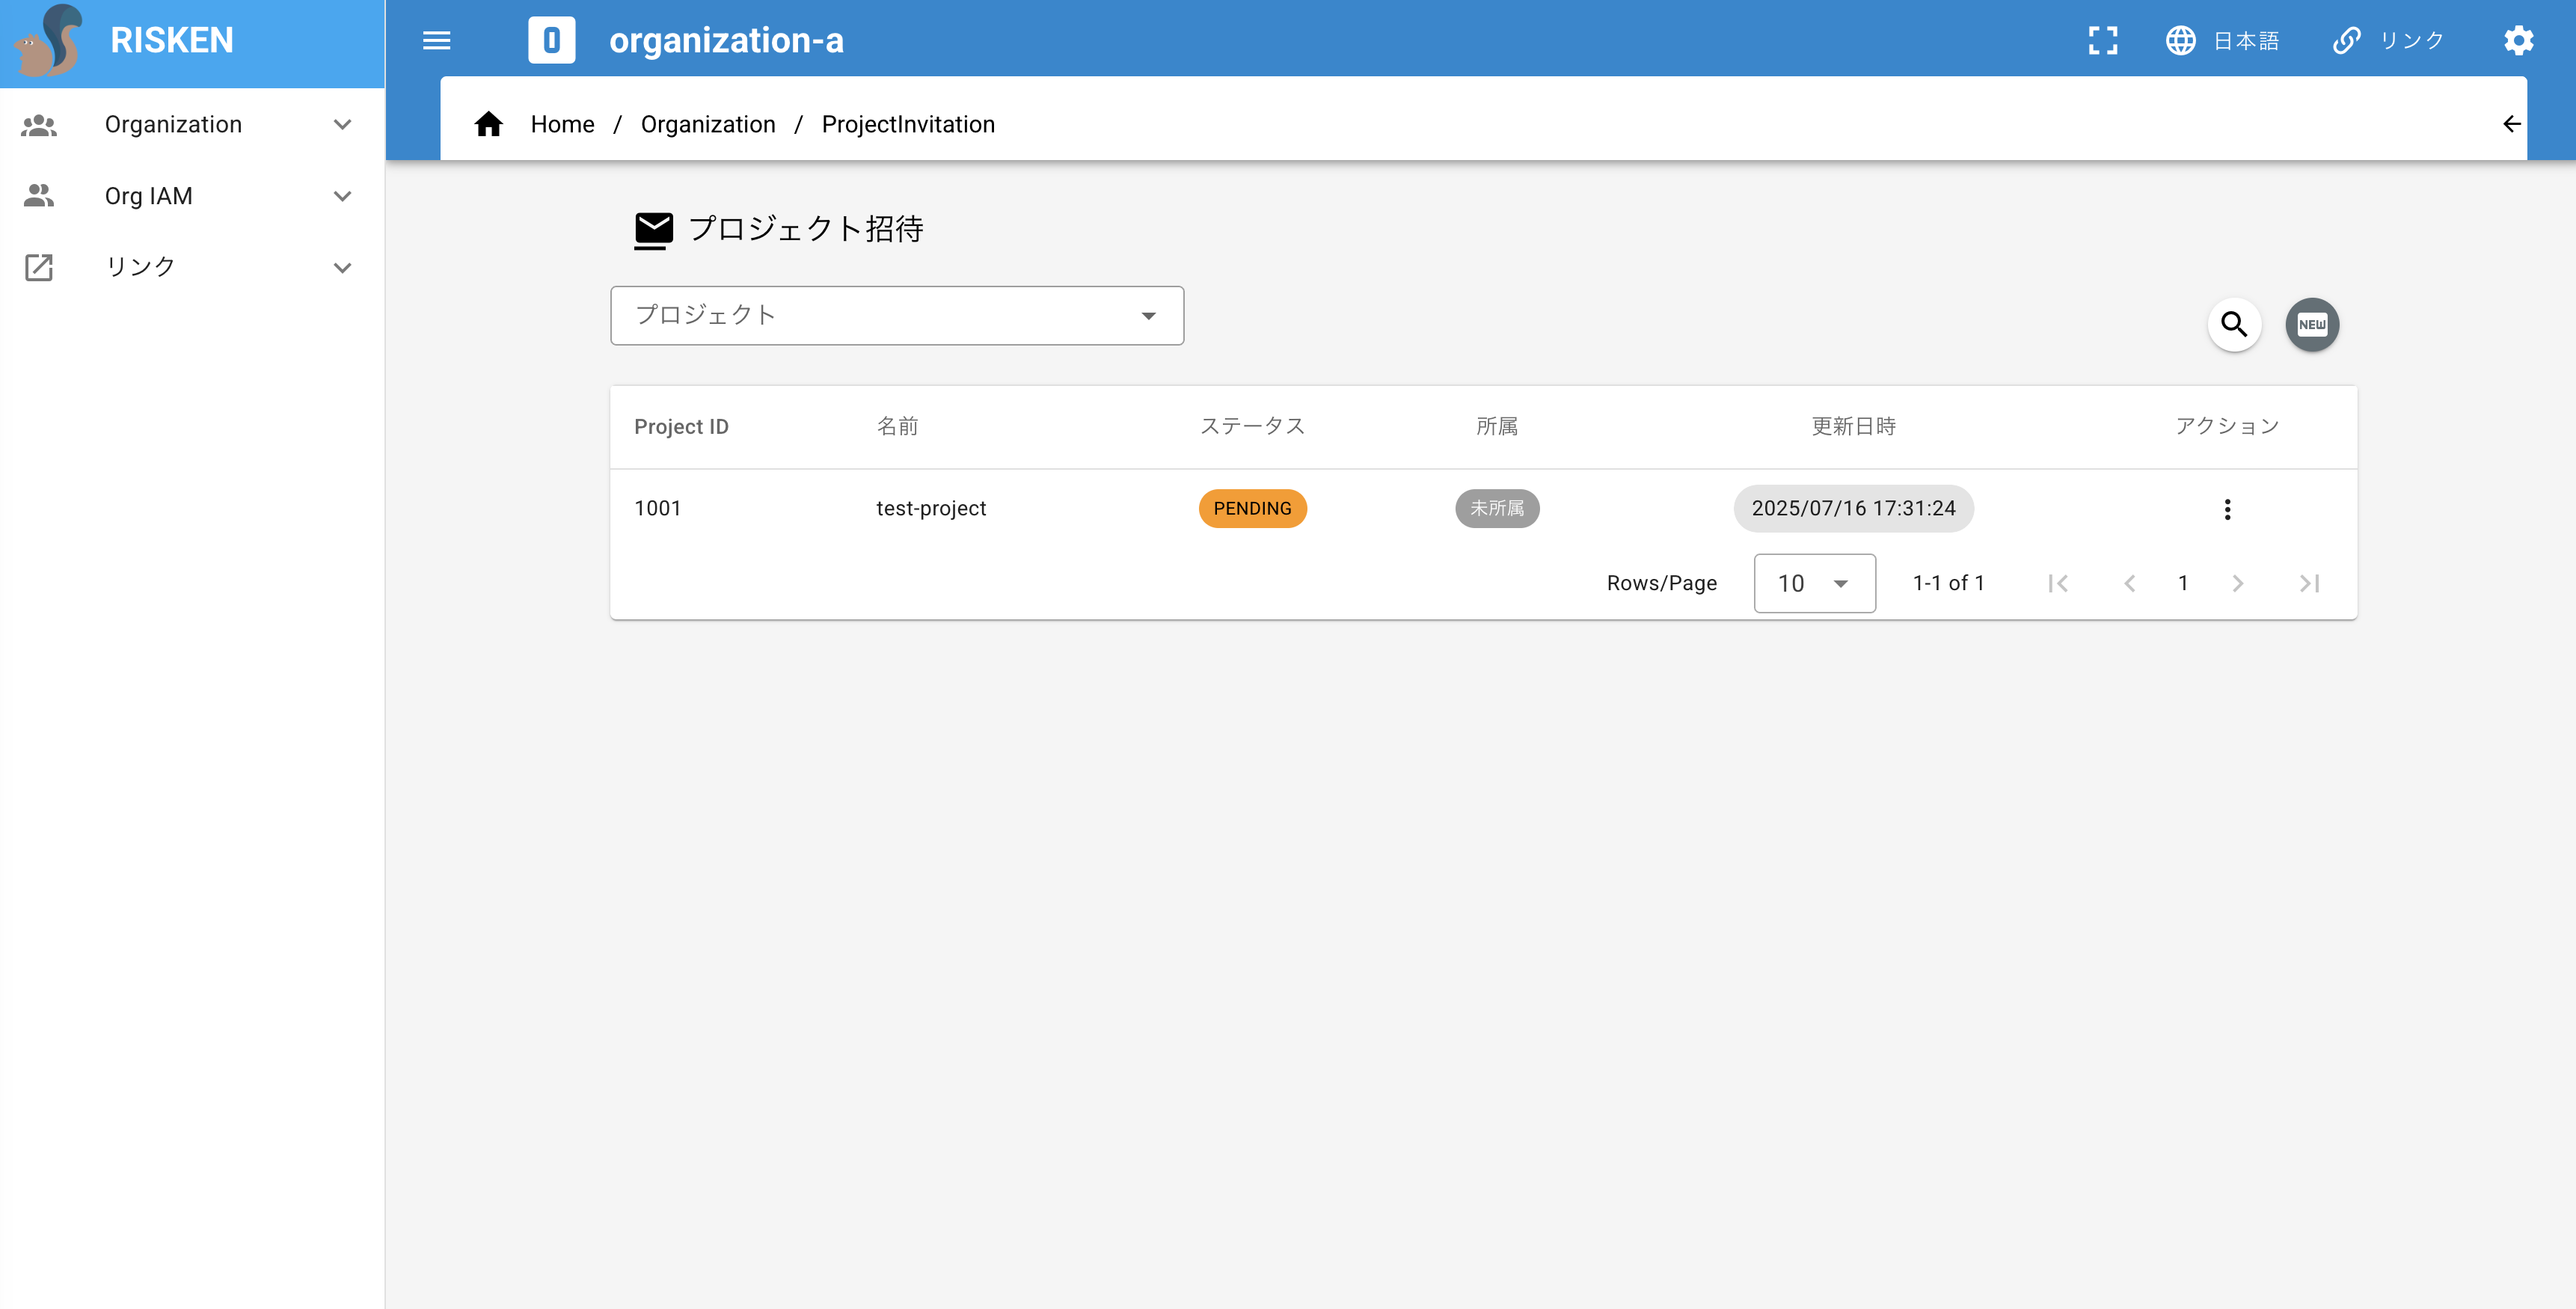
Checking Invitation Status
You can check invitations on the Project Invitation or Organization Invitation screens.
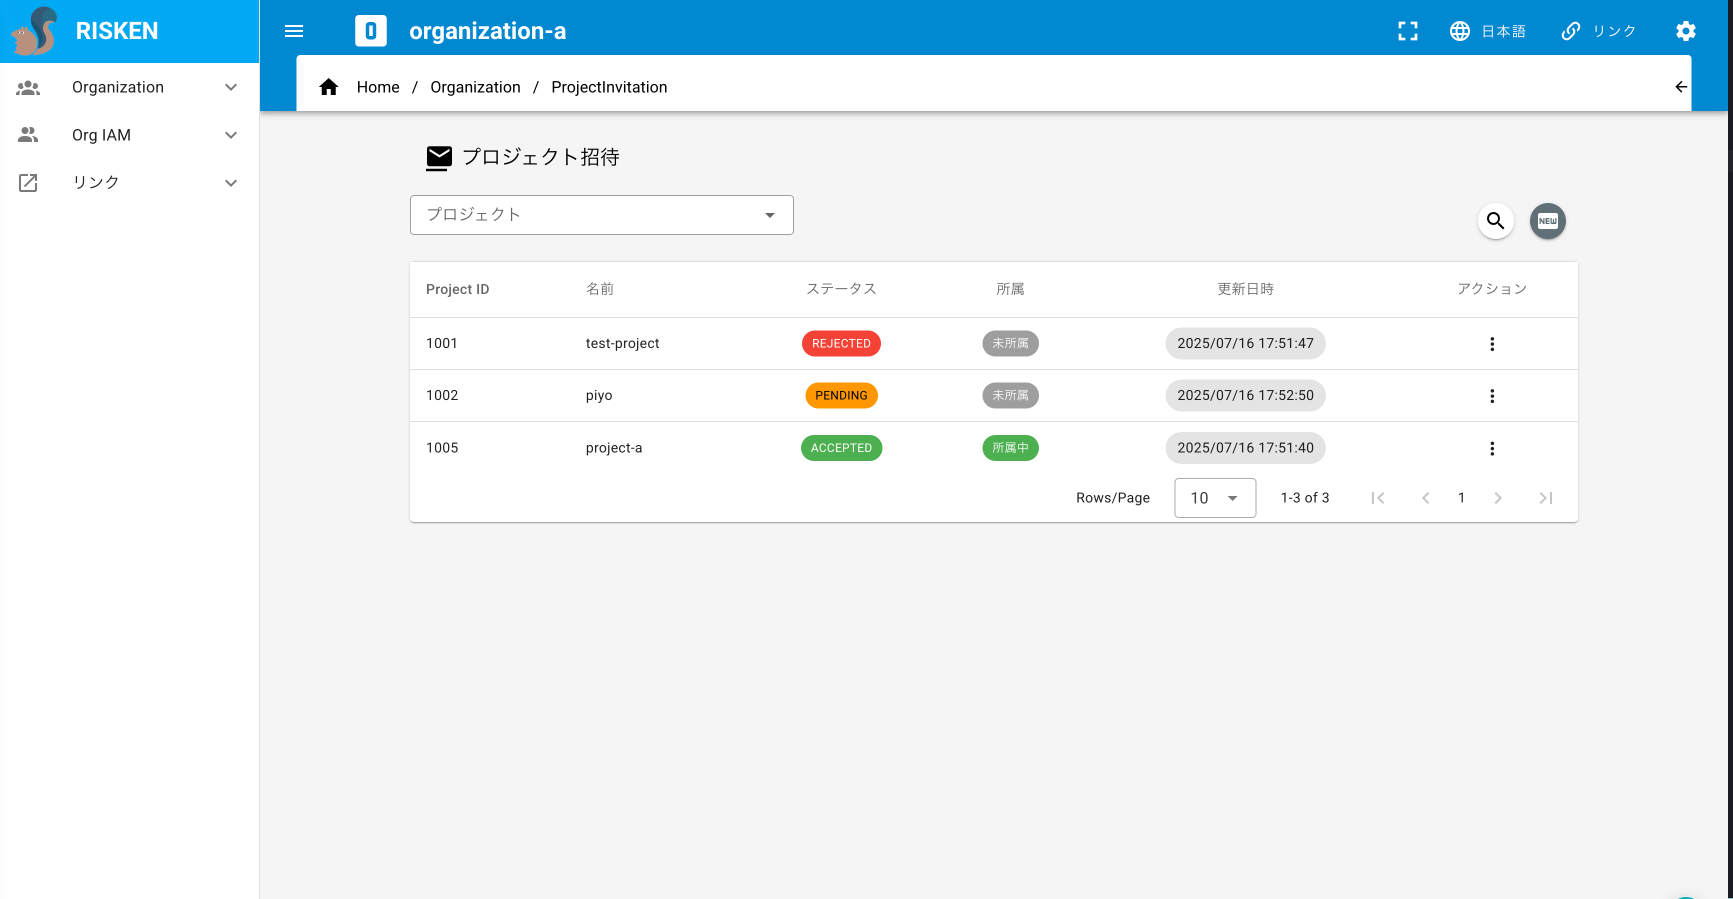
- You can check the status of invitations in the Status column:
PENDING: Awaiting responseACCEPTED: AcceptedREJECTED: Rejected
- You can check the project membership status in the Membership column:
Joined: The project belongs to the OrganizationNot Joined: The project does not belong to the Organization
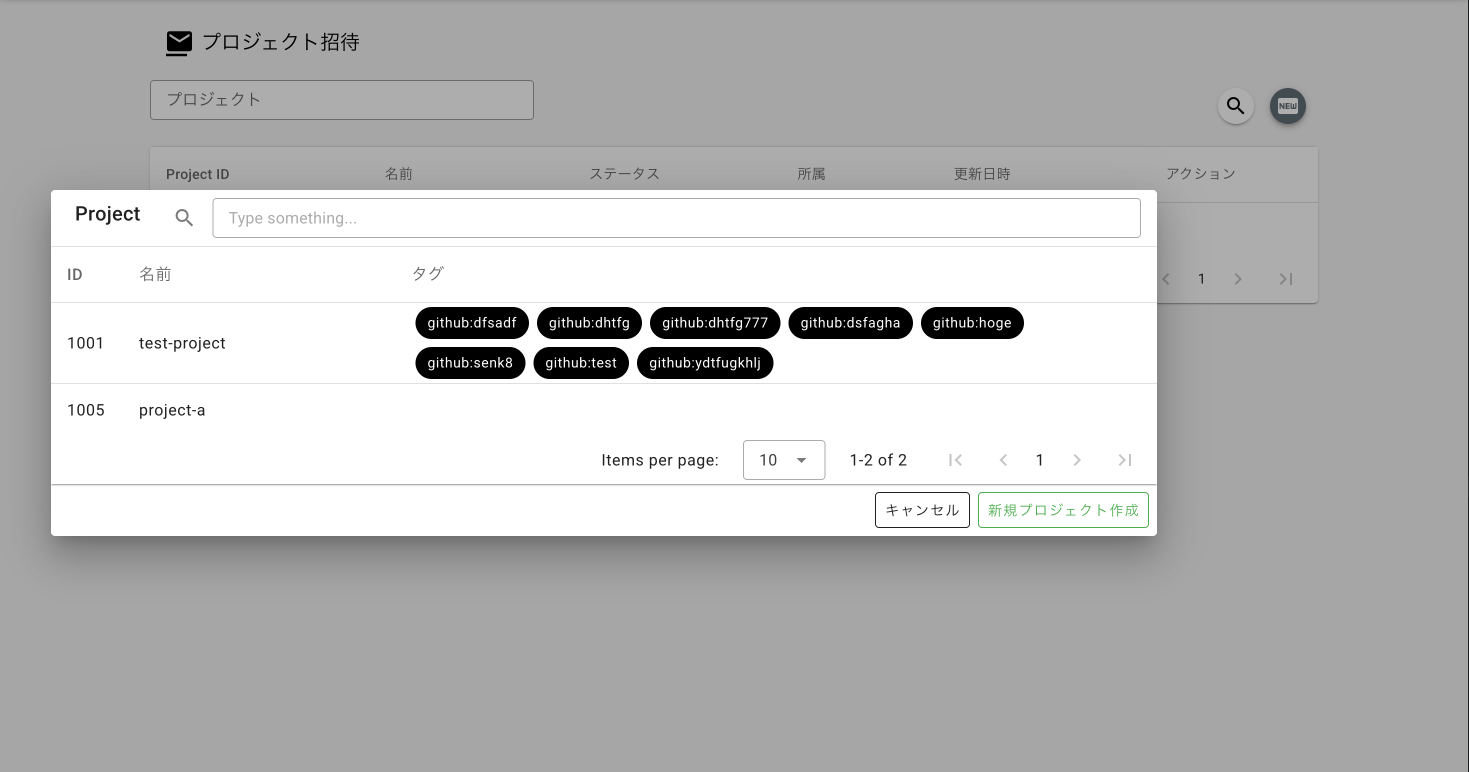
Sending an Invitation
-
In Organization Mode, click
Organization > Project Invitationfrom the left menu. -
Click the
NEWbutton on the right side of the screen. -
The Project dialog will appear. Click the project you want to invite.
-
The invitation will be sent, and the status will become
PENDING.
Note
You can only invite Projects for which you have access rights. Also, if the Organization and Project are already linked, you cannot send a new invitation.
Deleting a Project Invitation
Organizations can delete invitations they have sent.
-
In Organization Mode, on the Project Invitation screen, click the
Delete Invitationbutton in the Action column of the invitation you want to delete. -
Click
OKin the confirmation dialog. -
The invitation will be deleted.

Note
If you delete an invitation with the status ACCEPTED, the link with the Project will also be removed.
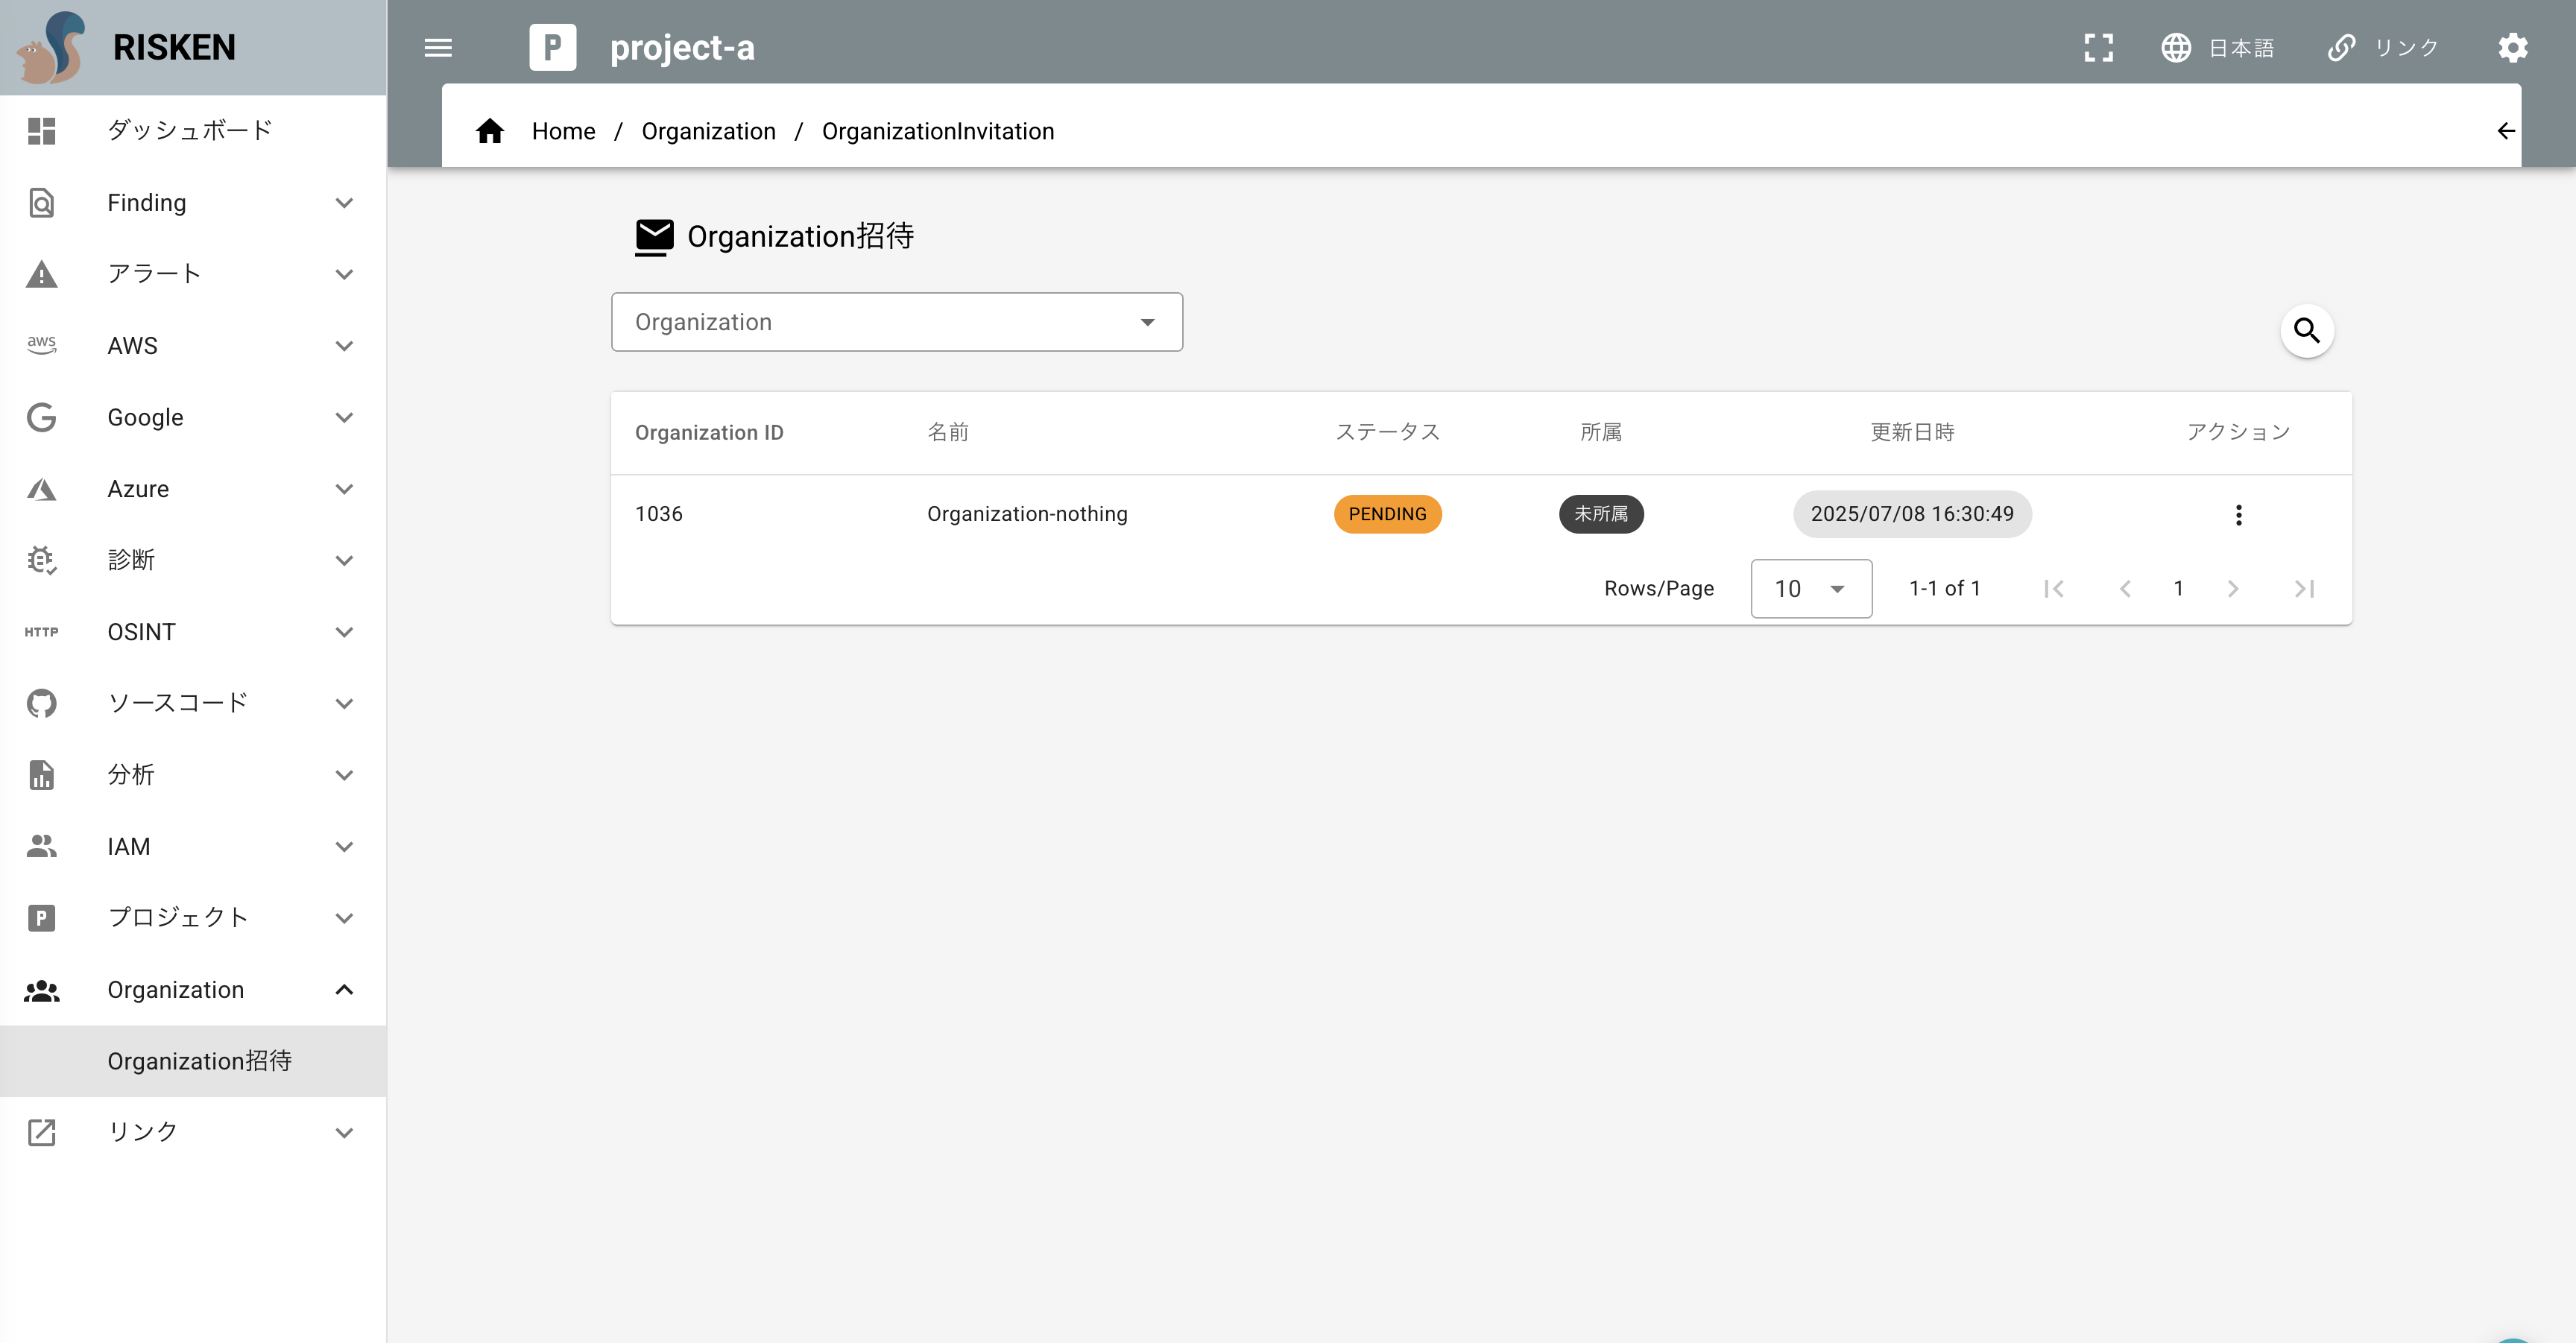
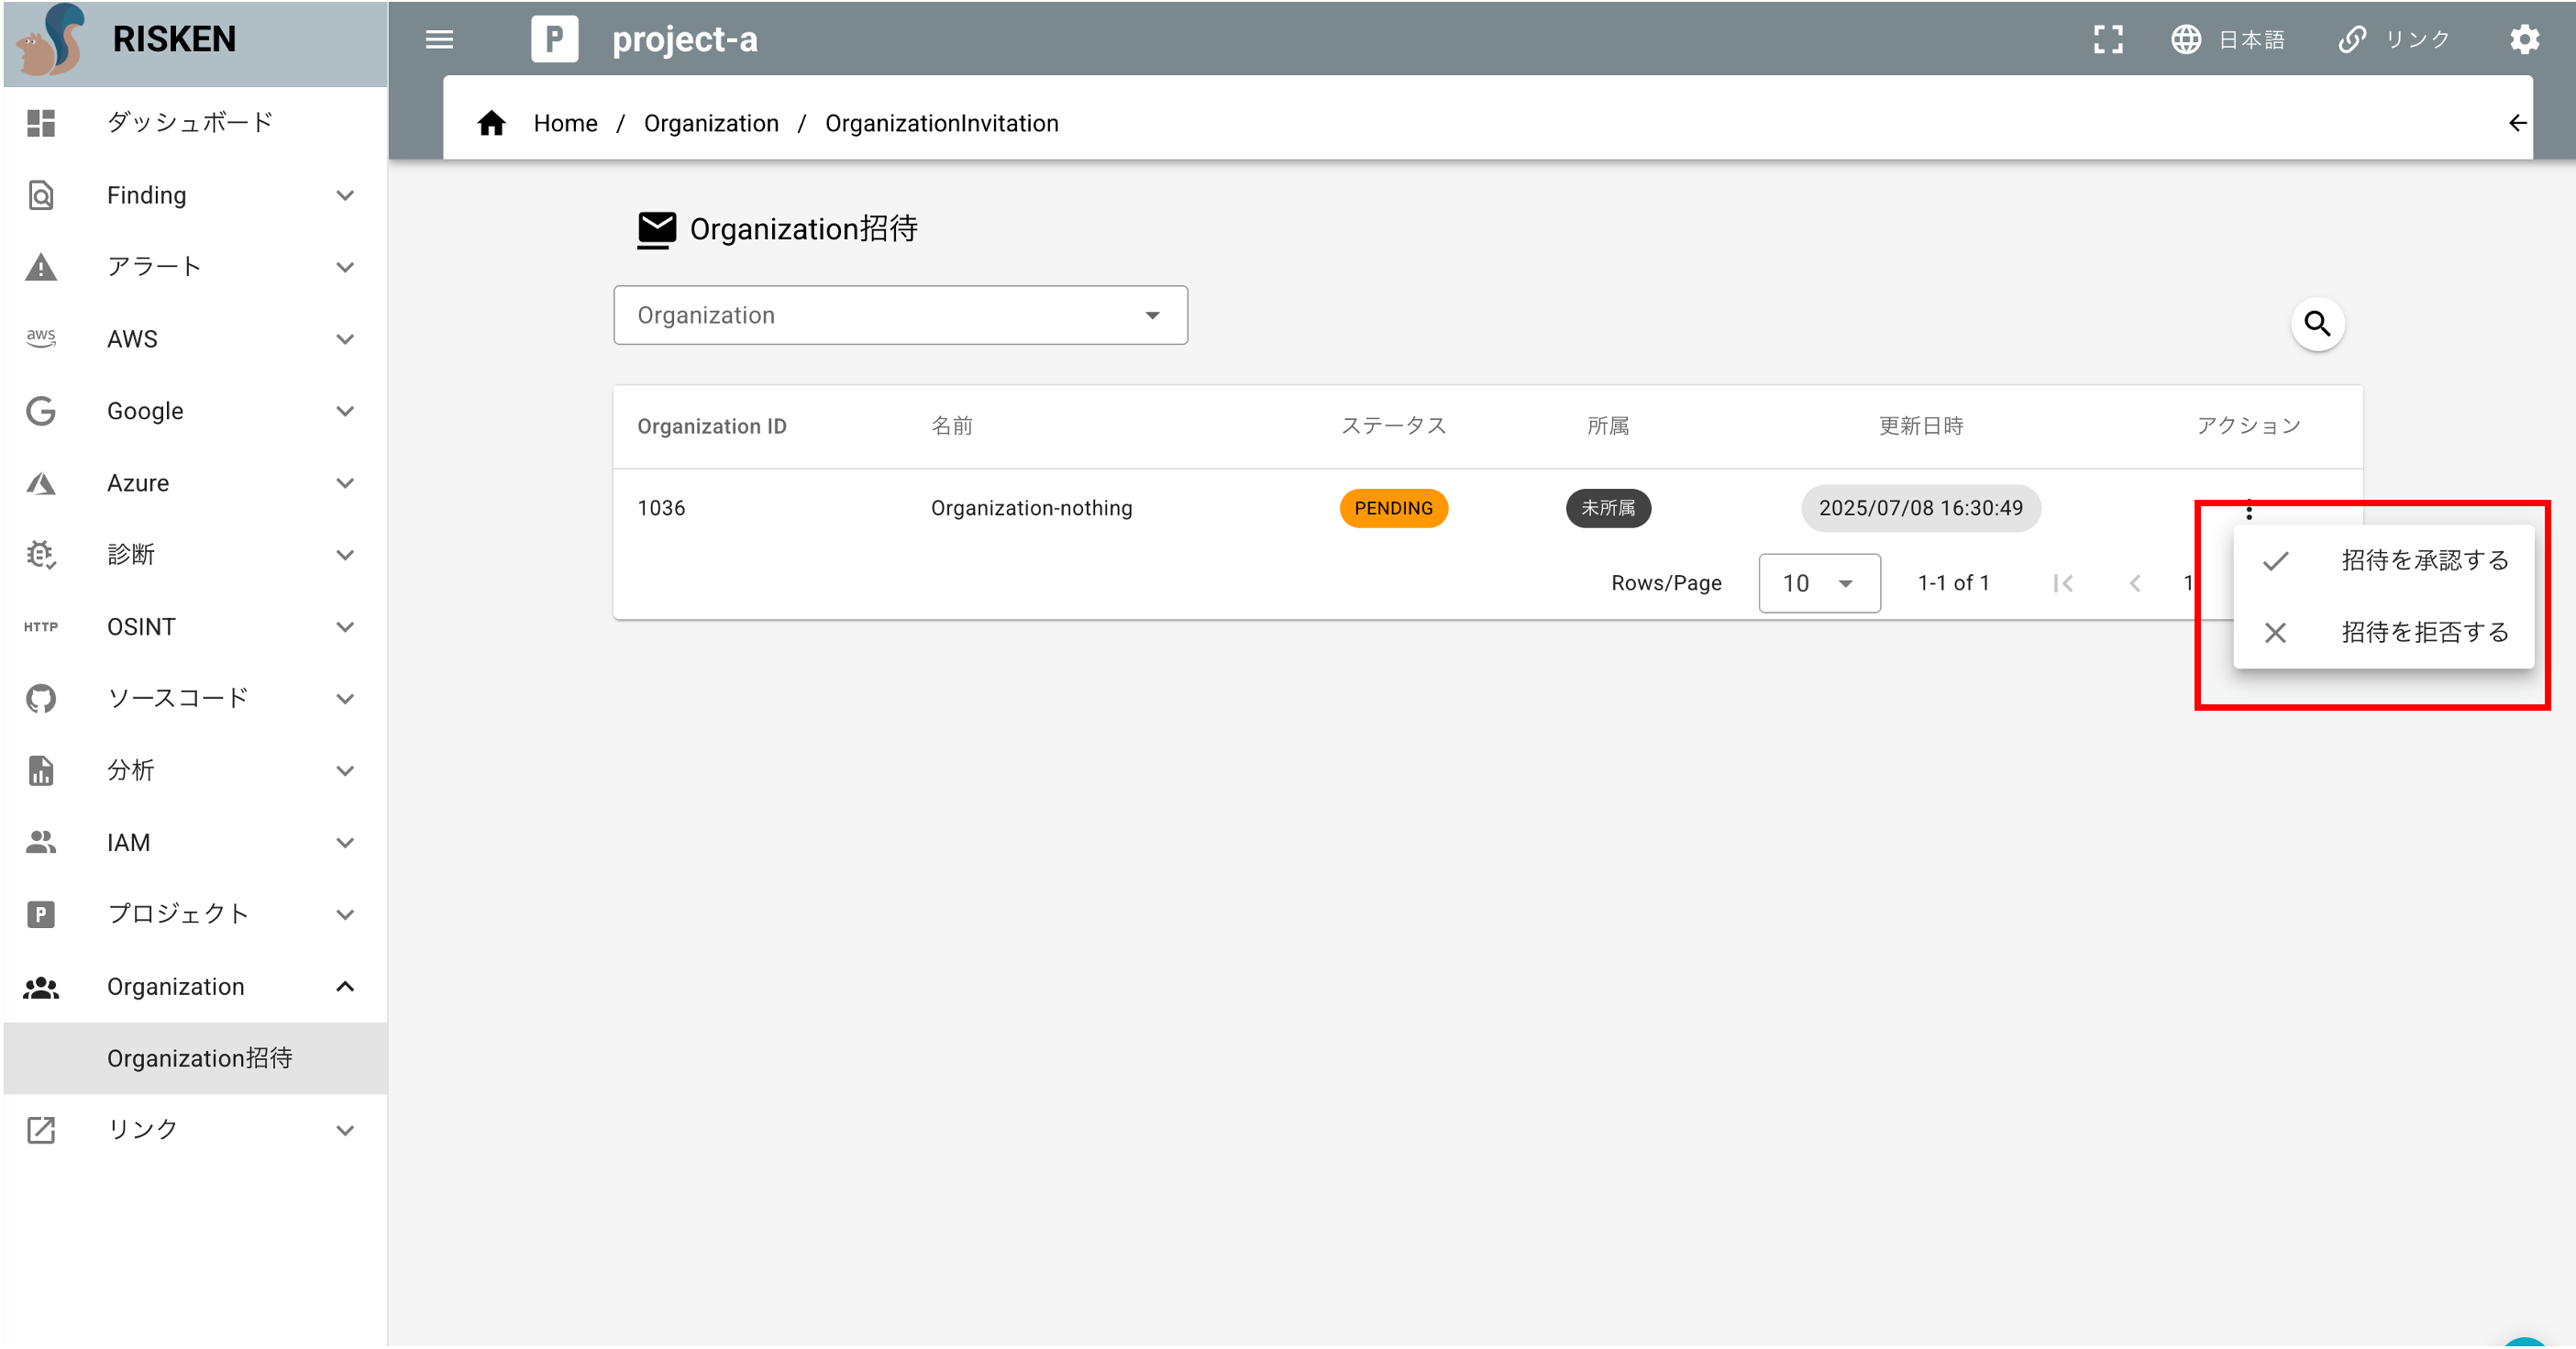
Project Accepts or Rejects an Invitation
A Project that receives an invitation from an Organization can decide to join or not join the Organization by accepting or rejecting the invitation.
-
In Project Mode, click
Project > Organization Invitationfrom the left menu to go to the Organization Invitation screen. -
In the
Actioncolumn of the invitation you want to accept or reject, selectAccept InvitationorReject Invitation. -
Click
OKin the confirmation dialog. -
The invitation process will be completed:
- If accepted: The Organization will join the Project, and the invitation status will become
ACCEPTED. 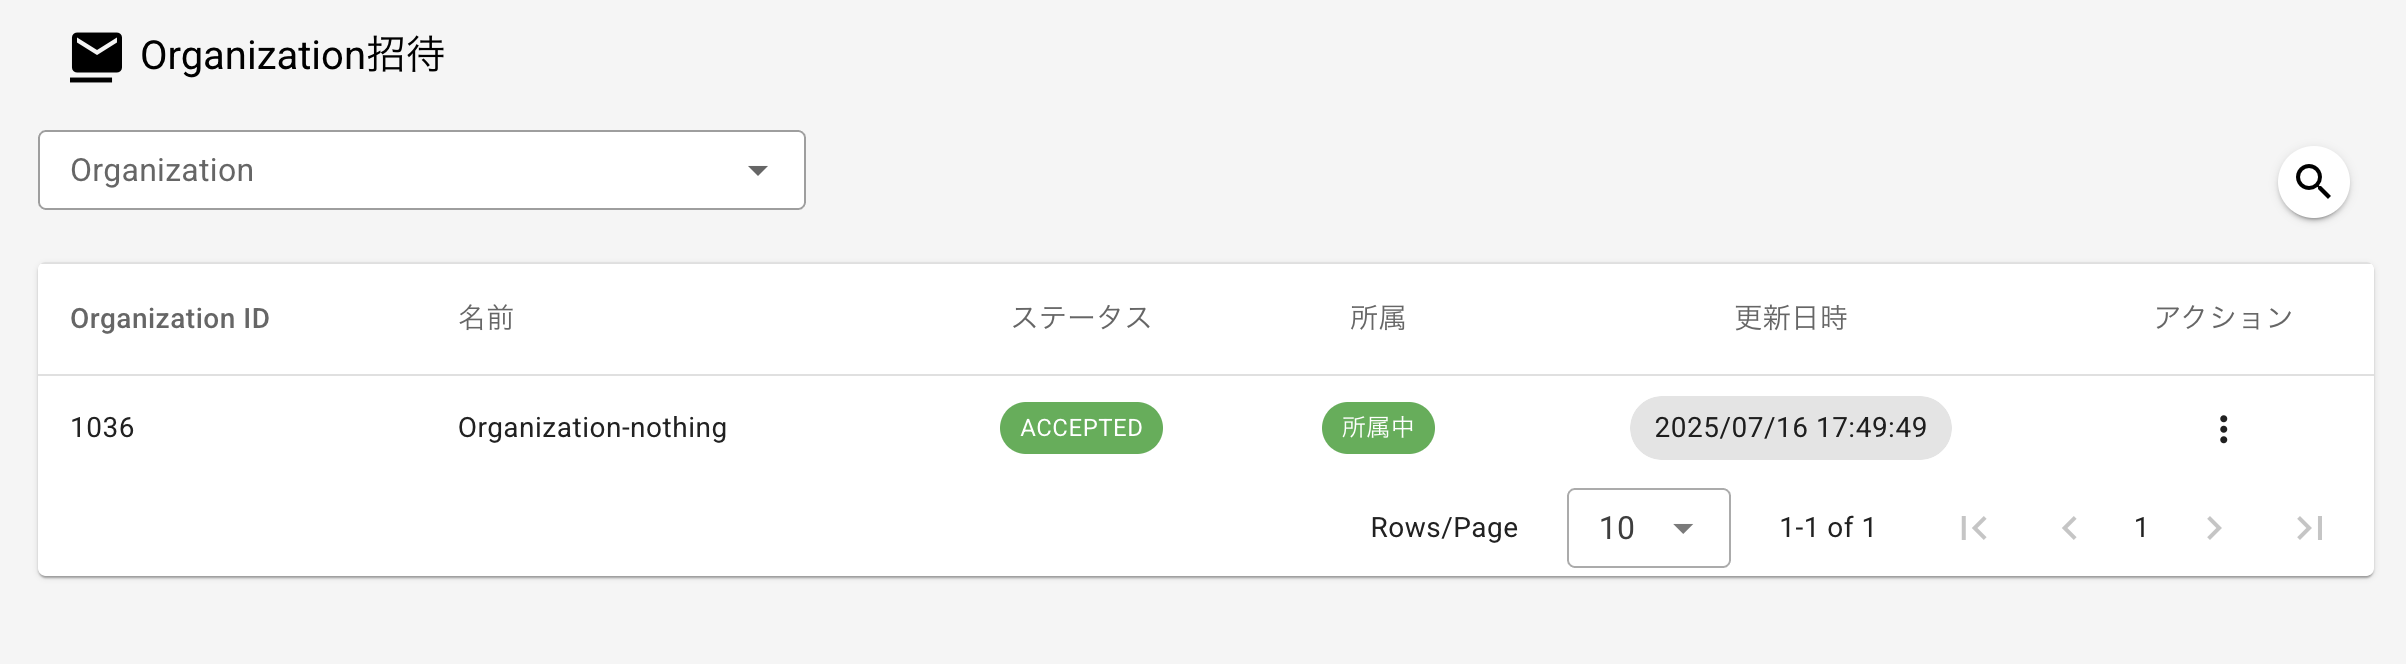
- If rejected: The invitation status will become
REJECTED. 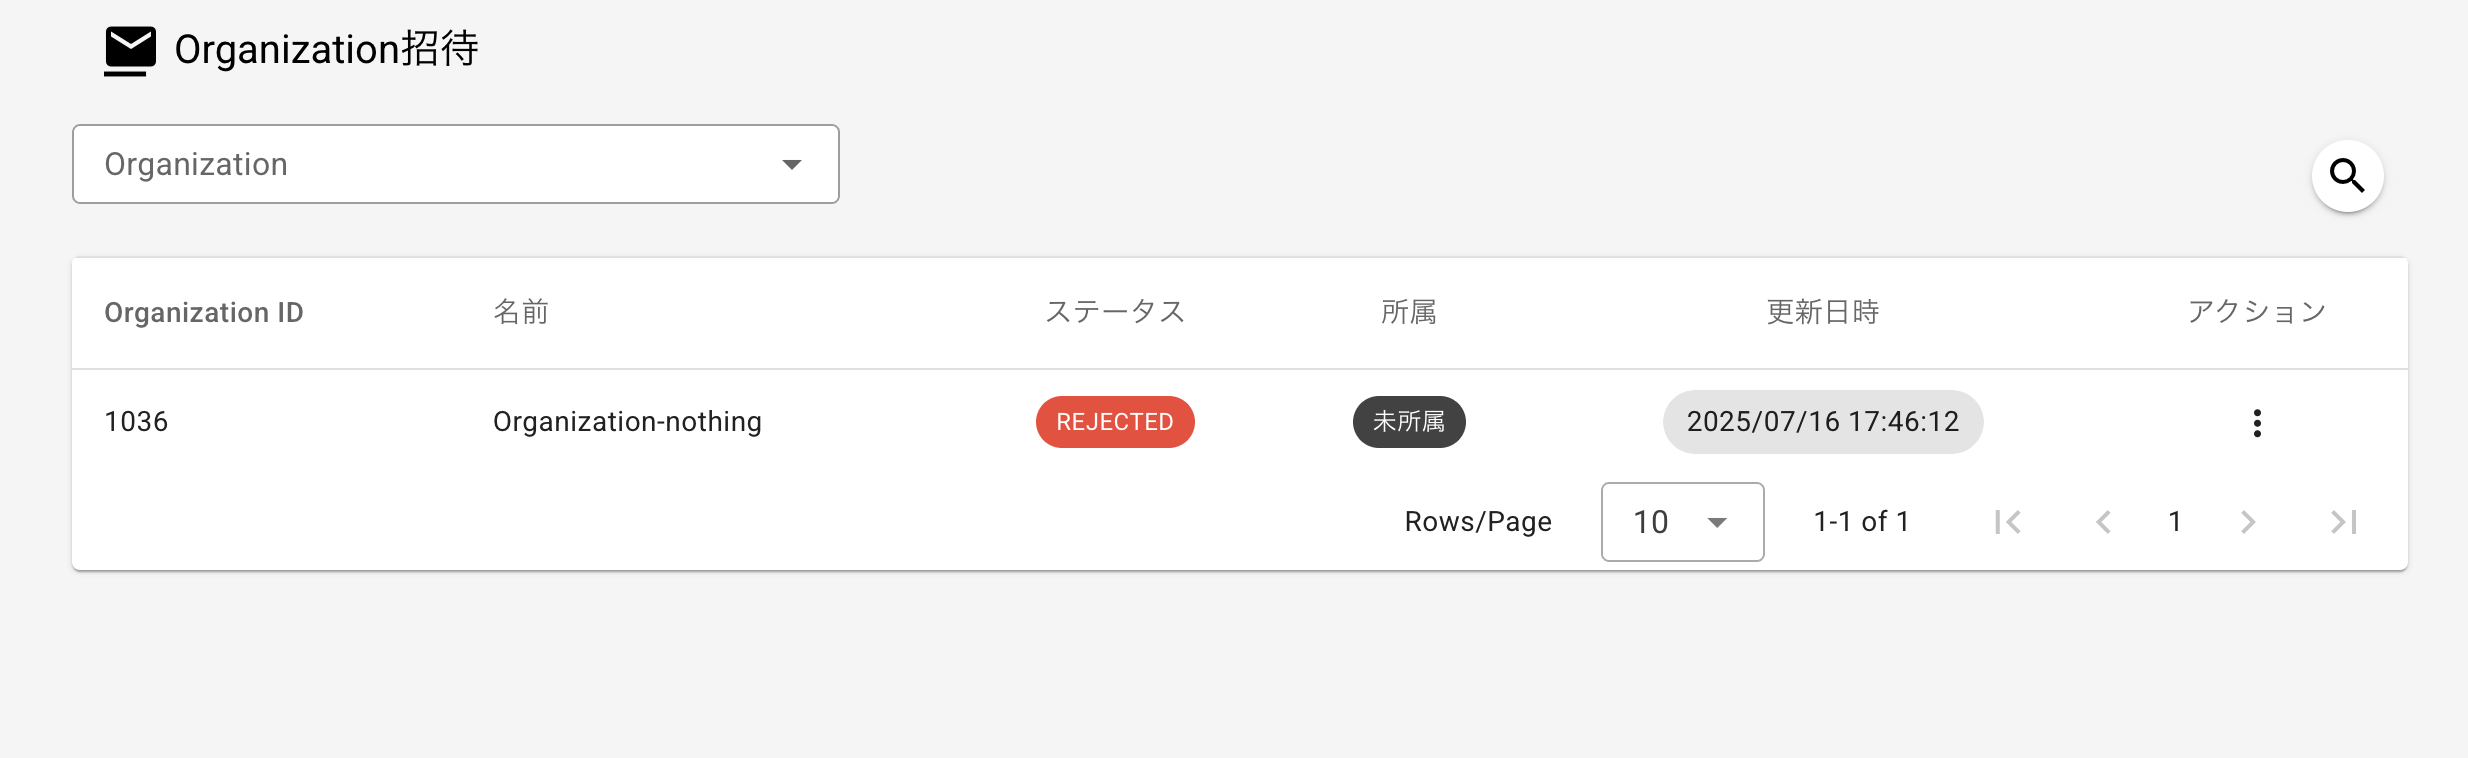
- If accepted: The Organization will join the Project, and the invitation status will become
Note
You can change your decision to accept or reject the invitation later.