User
When you log in to RISKEN, you are automatically registered as a user. However, new users who have just registered will not see anything because they are not participating in any projects.
To view anything, you need to either create a new project or be invited to an existing project. Here, we will explain how to invite a user who is already logged into RISKEN to an existing project.
For information on how to assign permissions to users who have never logged into RISKEN, please see User Reservation.
Managing Project Access Permissions
Inviting Users to a Project
- Select the project you want from the menu on the screen using the
Pbutton. - Click
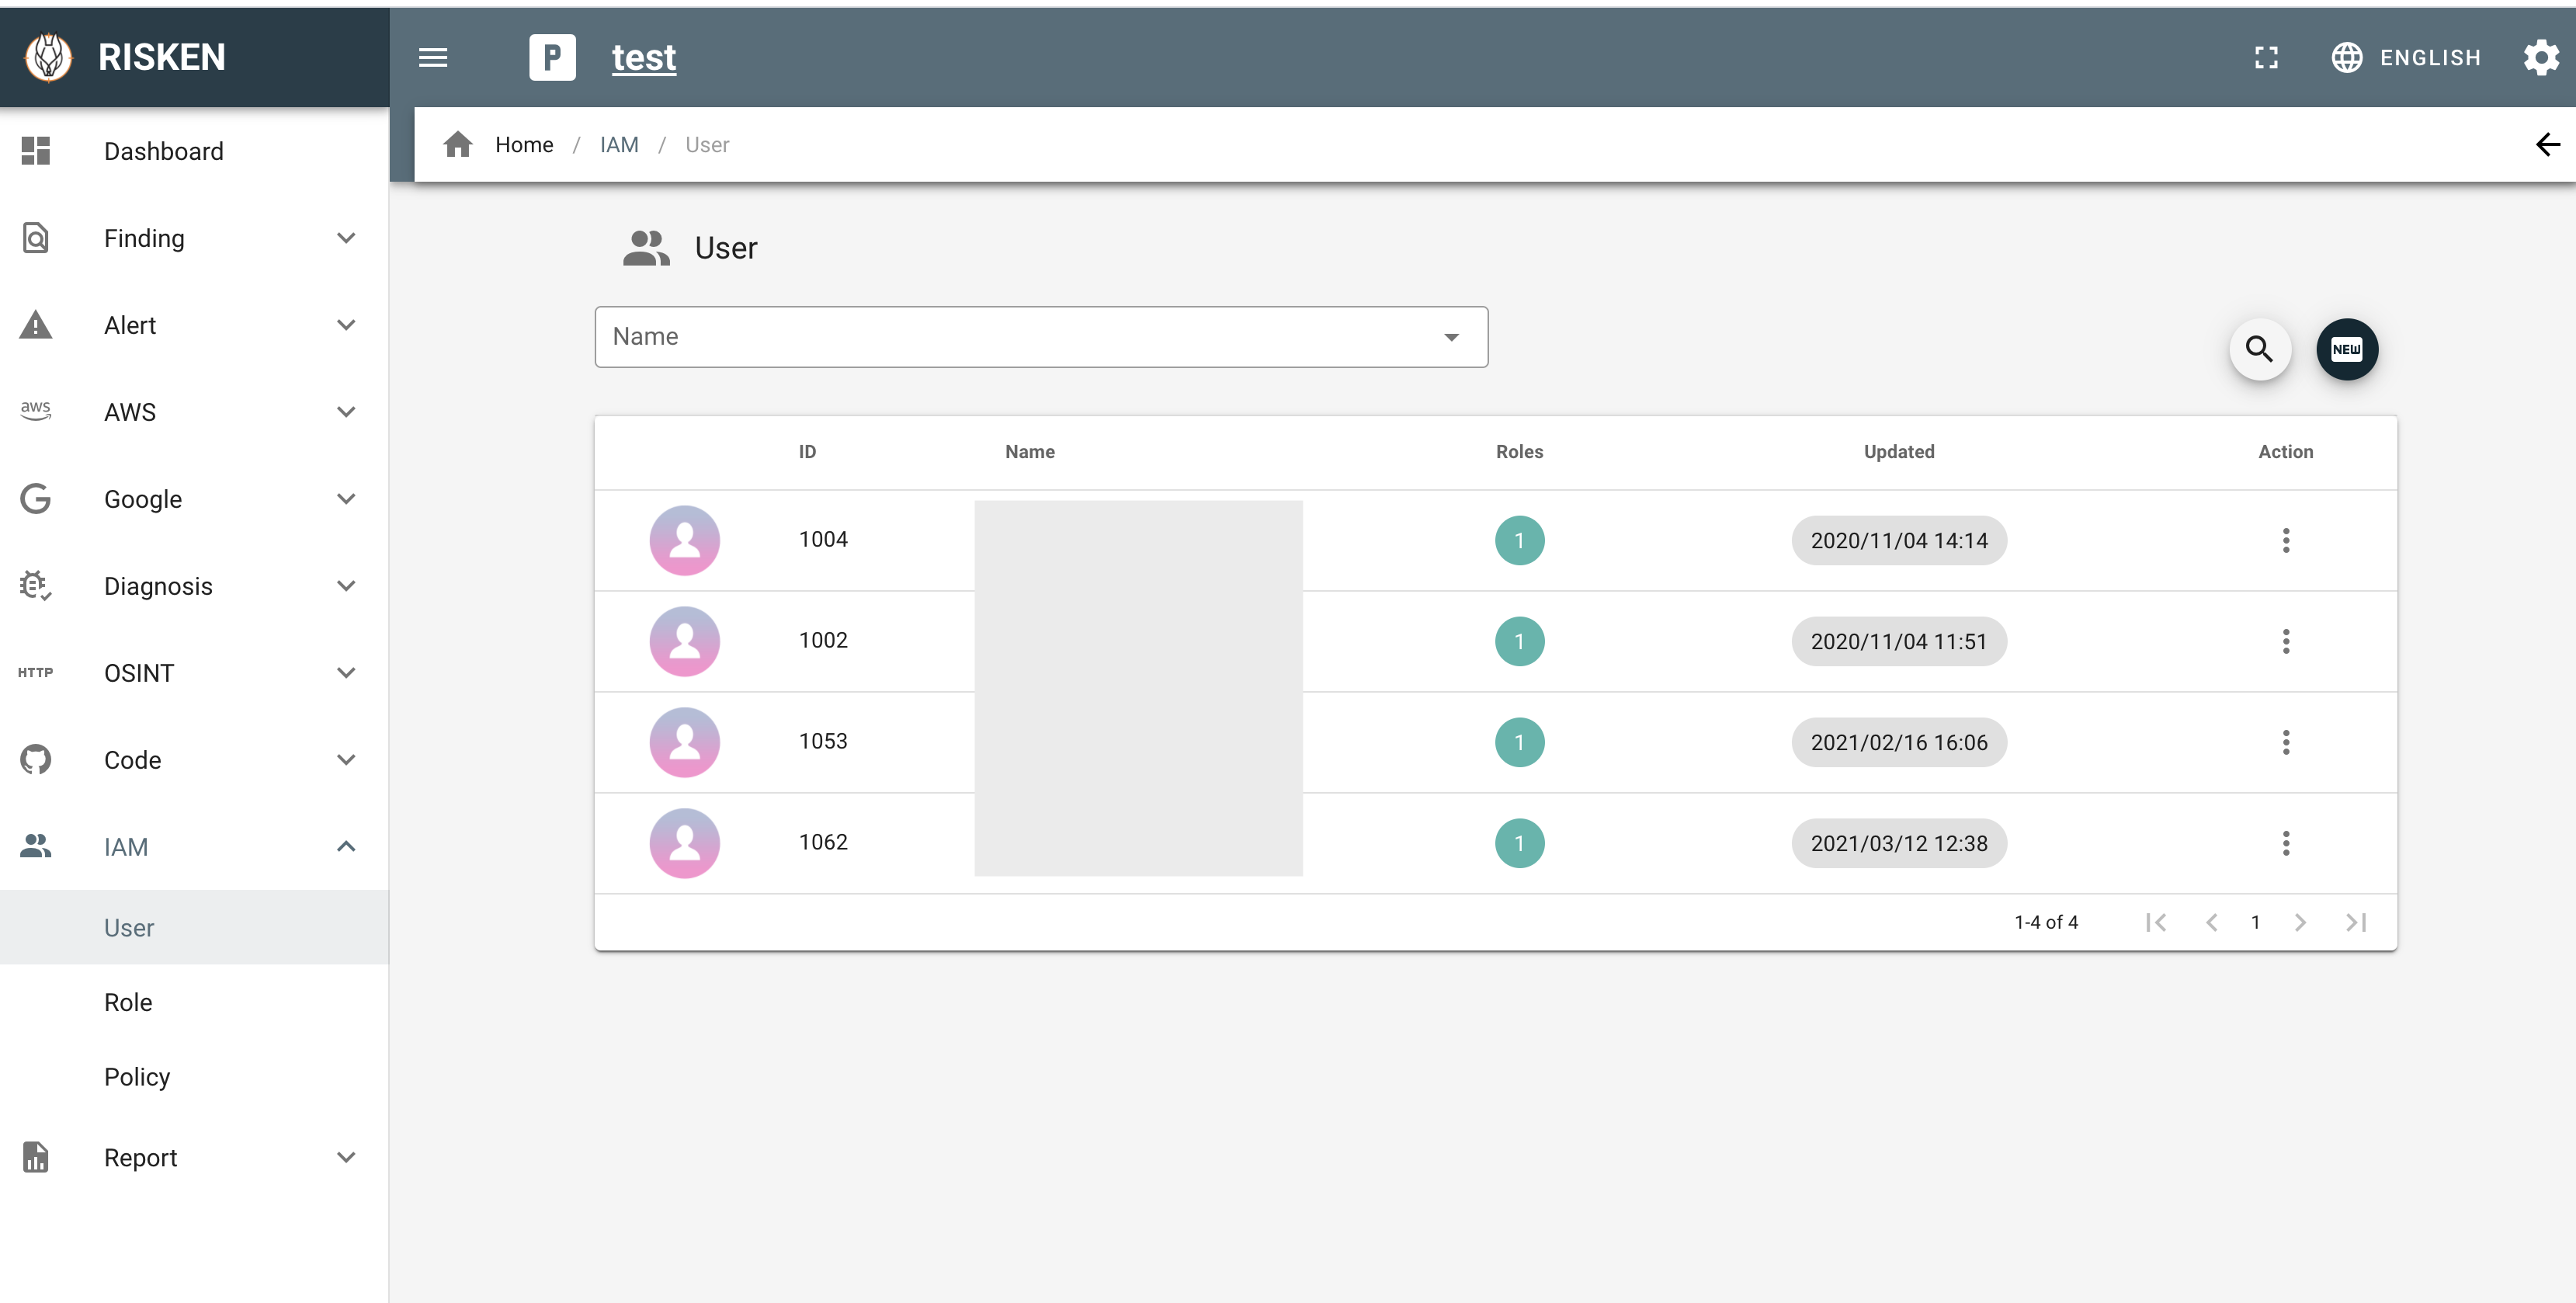
IAM > Userfrom the left menu. - Click the
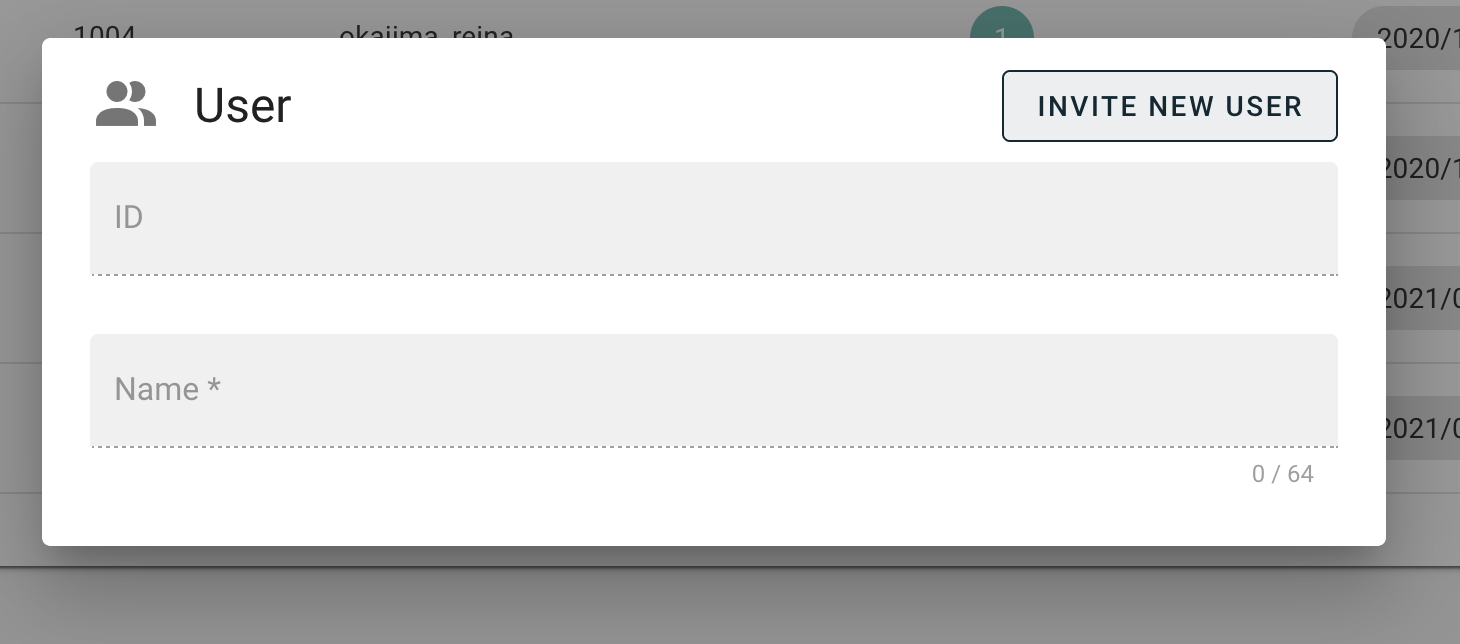
NEWbutton on the right side of the screen. - When the user dialog opens, click
INVITE NEW USERin the upper right corner. - Search for and select the person you want to invite.
- When you return to the user dialog, check the role you want to grant and click the
EDITbutton.

Note
If the user you want to invite does not exist, the target user may not have logged in yet. Please ask them to log in and search again in the user dialog.
Assigning Roles to Users
- Click
IAM > Userfrom the left menu. - The user screen displays users who are already participating in the project.
- Select the user you want to assign a role to.
- If the target user does not exist, invite them using Add Users.
- The created roles are displayed, so set the role you want to grant.
Note
By default, a role/policy for project_admin is created when a project is created. If you want to allow or control read-only rights or partial functionality, see the next step, Setting up detailed roles.
Setting Detailed Roles
You can set detailed roles such as allowing only specific functions within the project. Before creating a role, you need to set the policy that is associated with the role.
- Policy defines what operations (actions) are allowed for data (resources).
- It is possible to set multiple policies for a single role.
- The policy is described in regular expressions .
Policy Setting
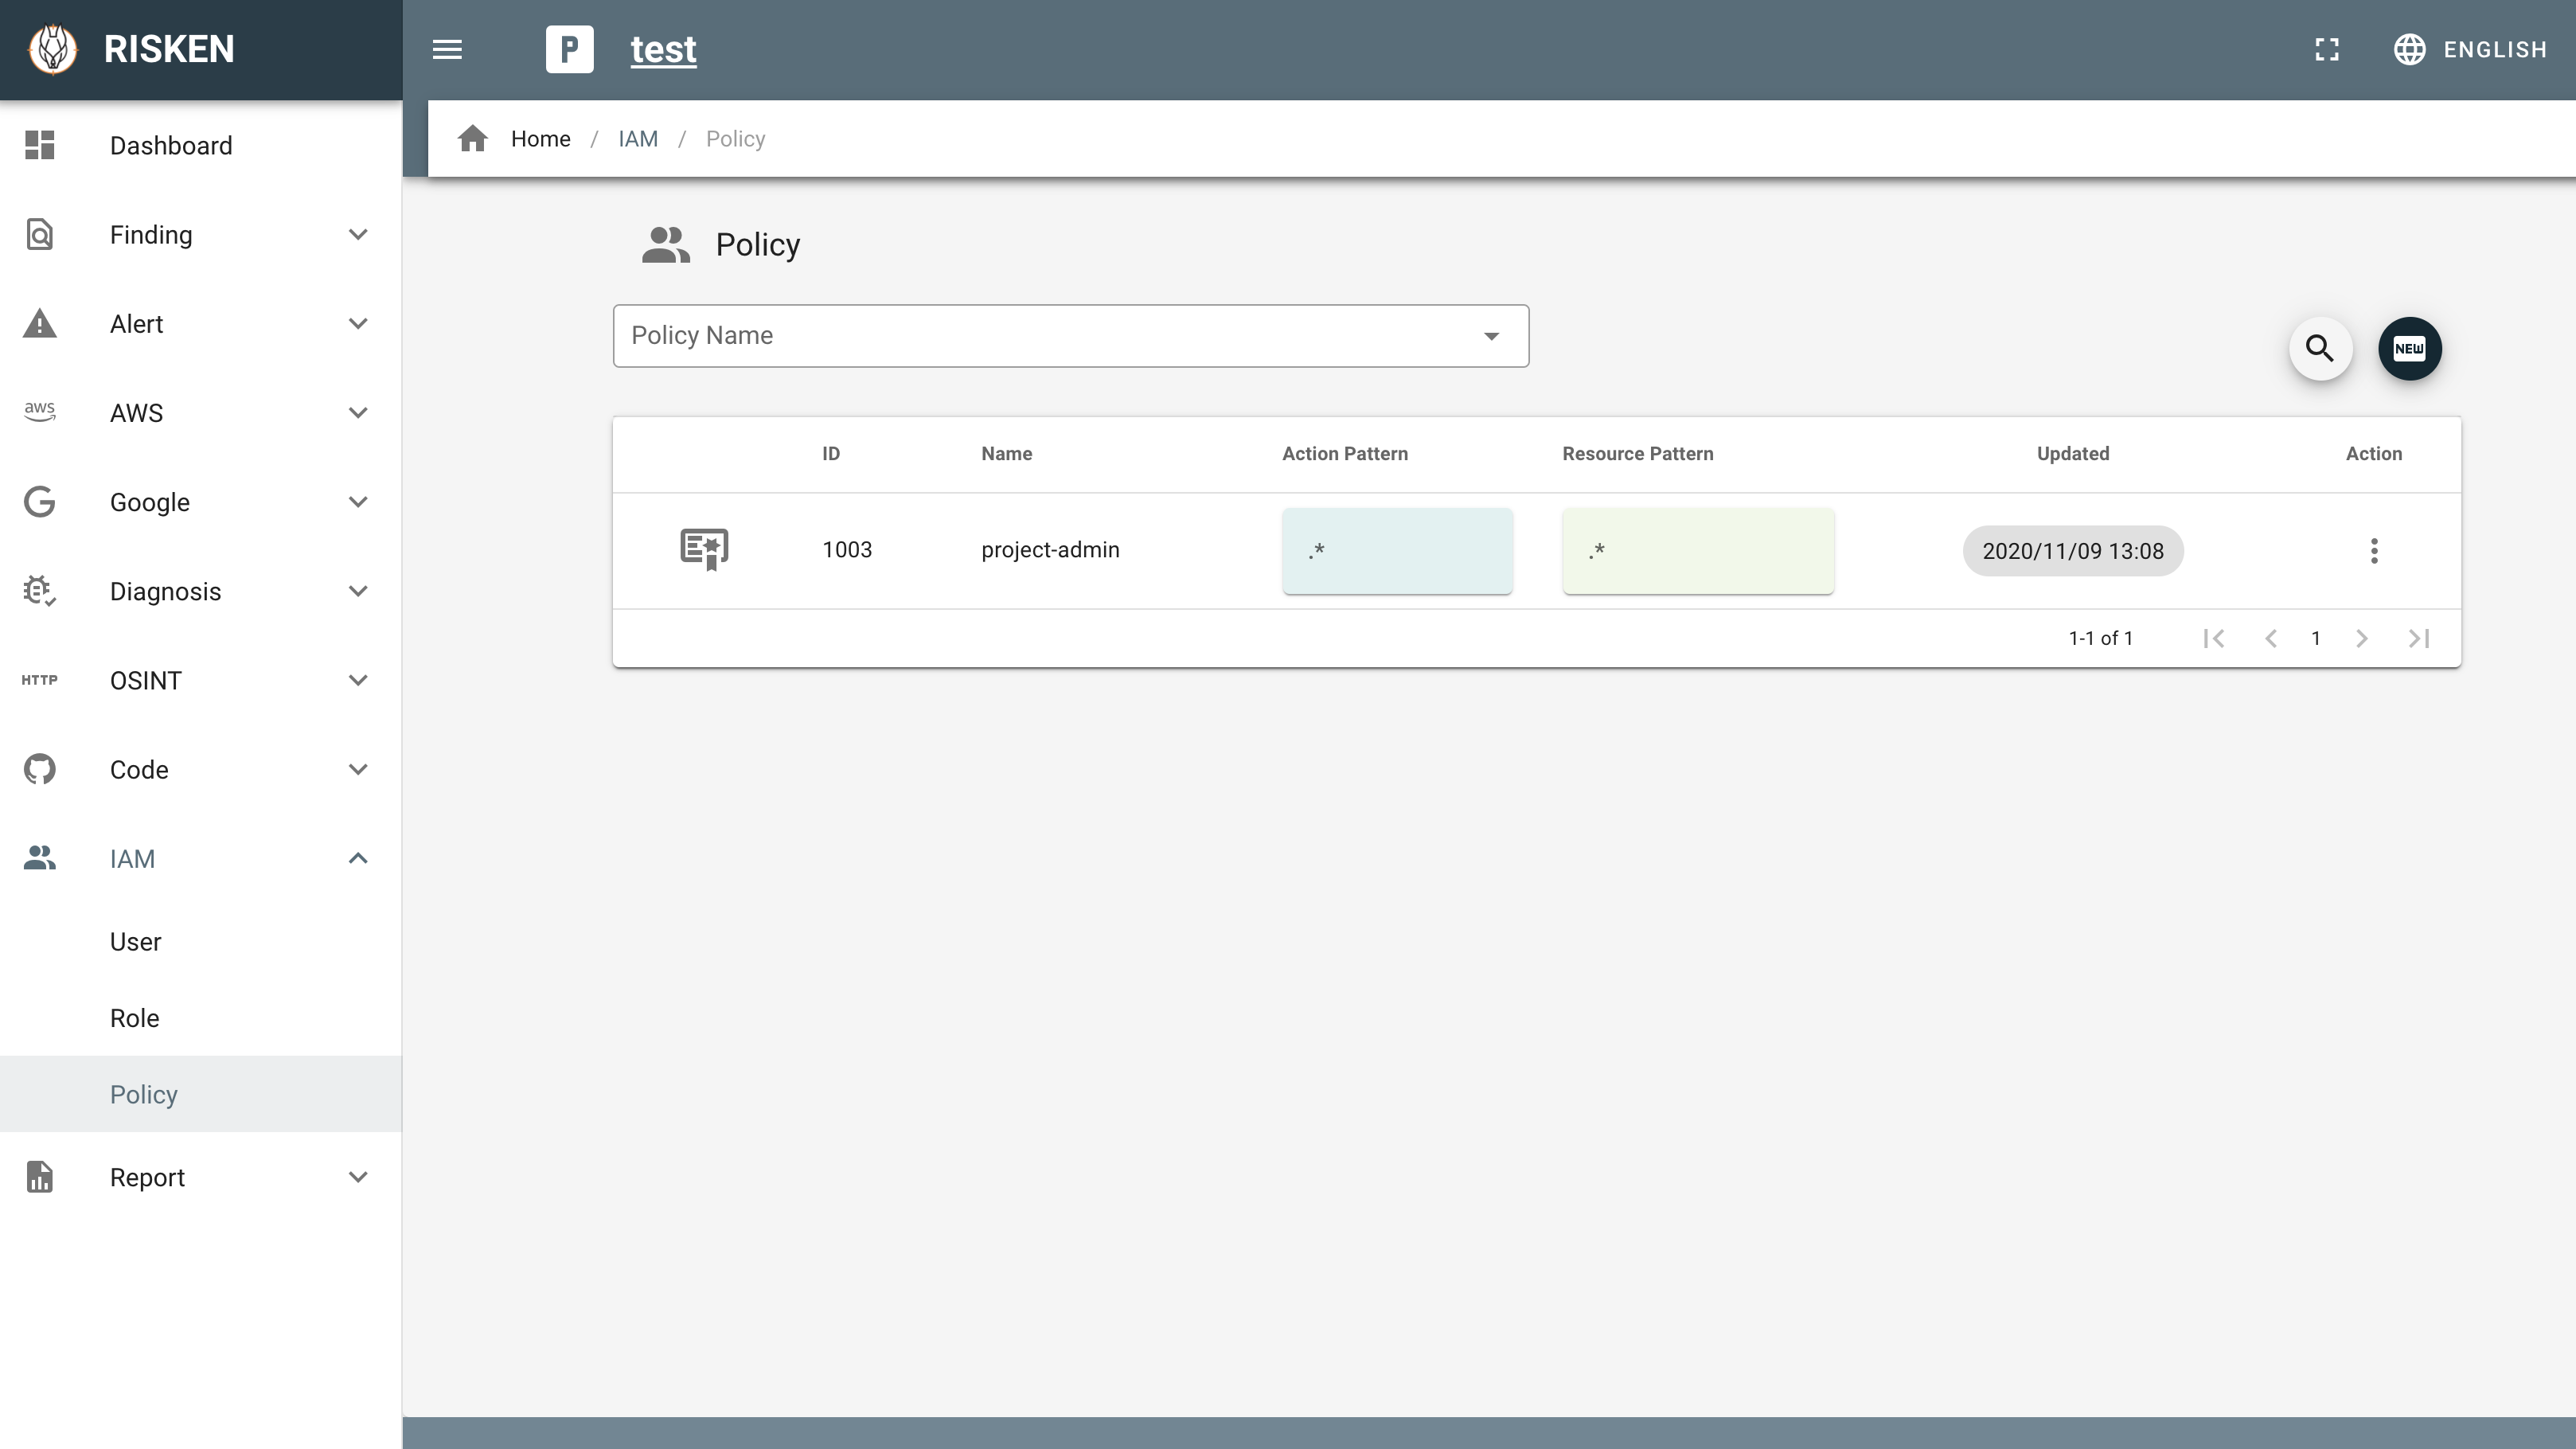
- Click
IAM > Policyon the left menu. - Click
NEWon the right side of the screen. - Enter the following in the policy dialog and click
REGIST.- Name: Policy name
- Action Pattern: Action name pattern
- For example, set
(get|list|is-admin|put-alert-first-viewed-at)for the ReadOnly action.
- For example, set
- Resource Pattern: Resource name pattern
- *Currently, detailed control using resource patterns is not supported. Therefore, please specify
.*in the Resource field. (Control will be uniformly at the project level.)
- *Currently, detailed control using resource patterns is not supported. Therefore, please specify
Role Setting
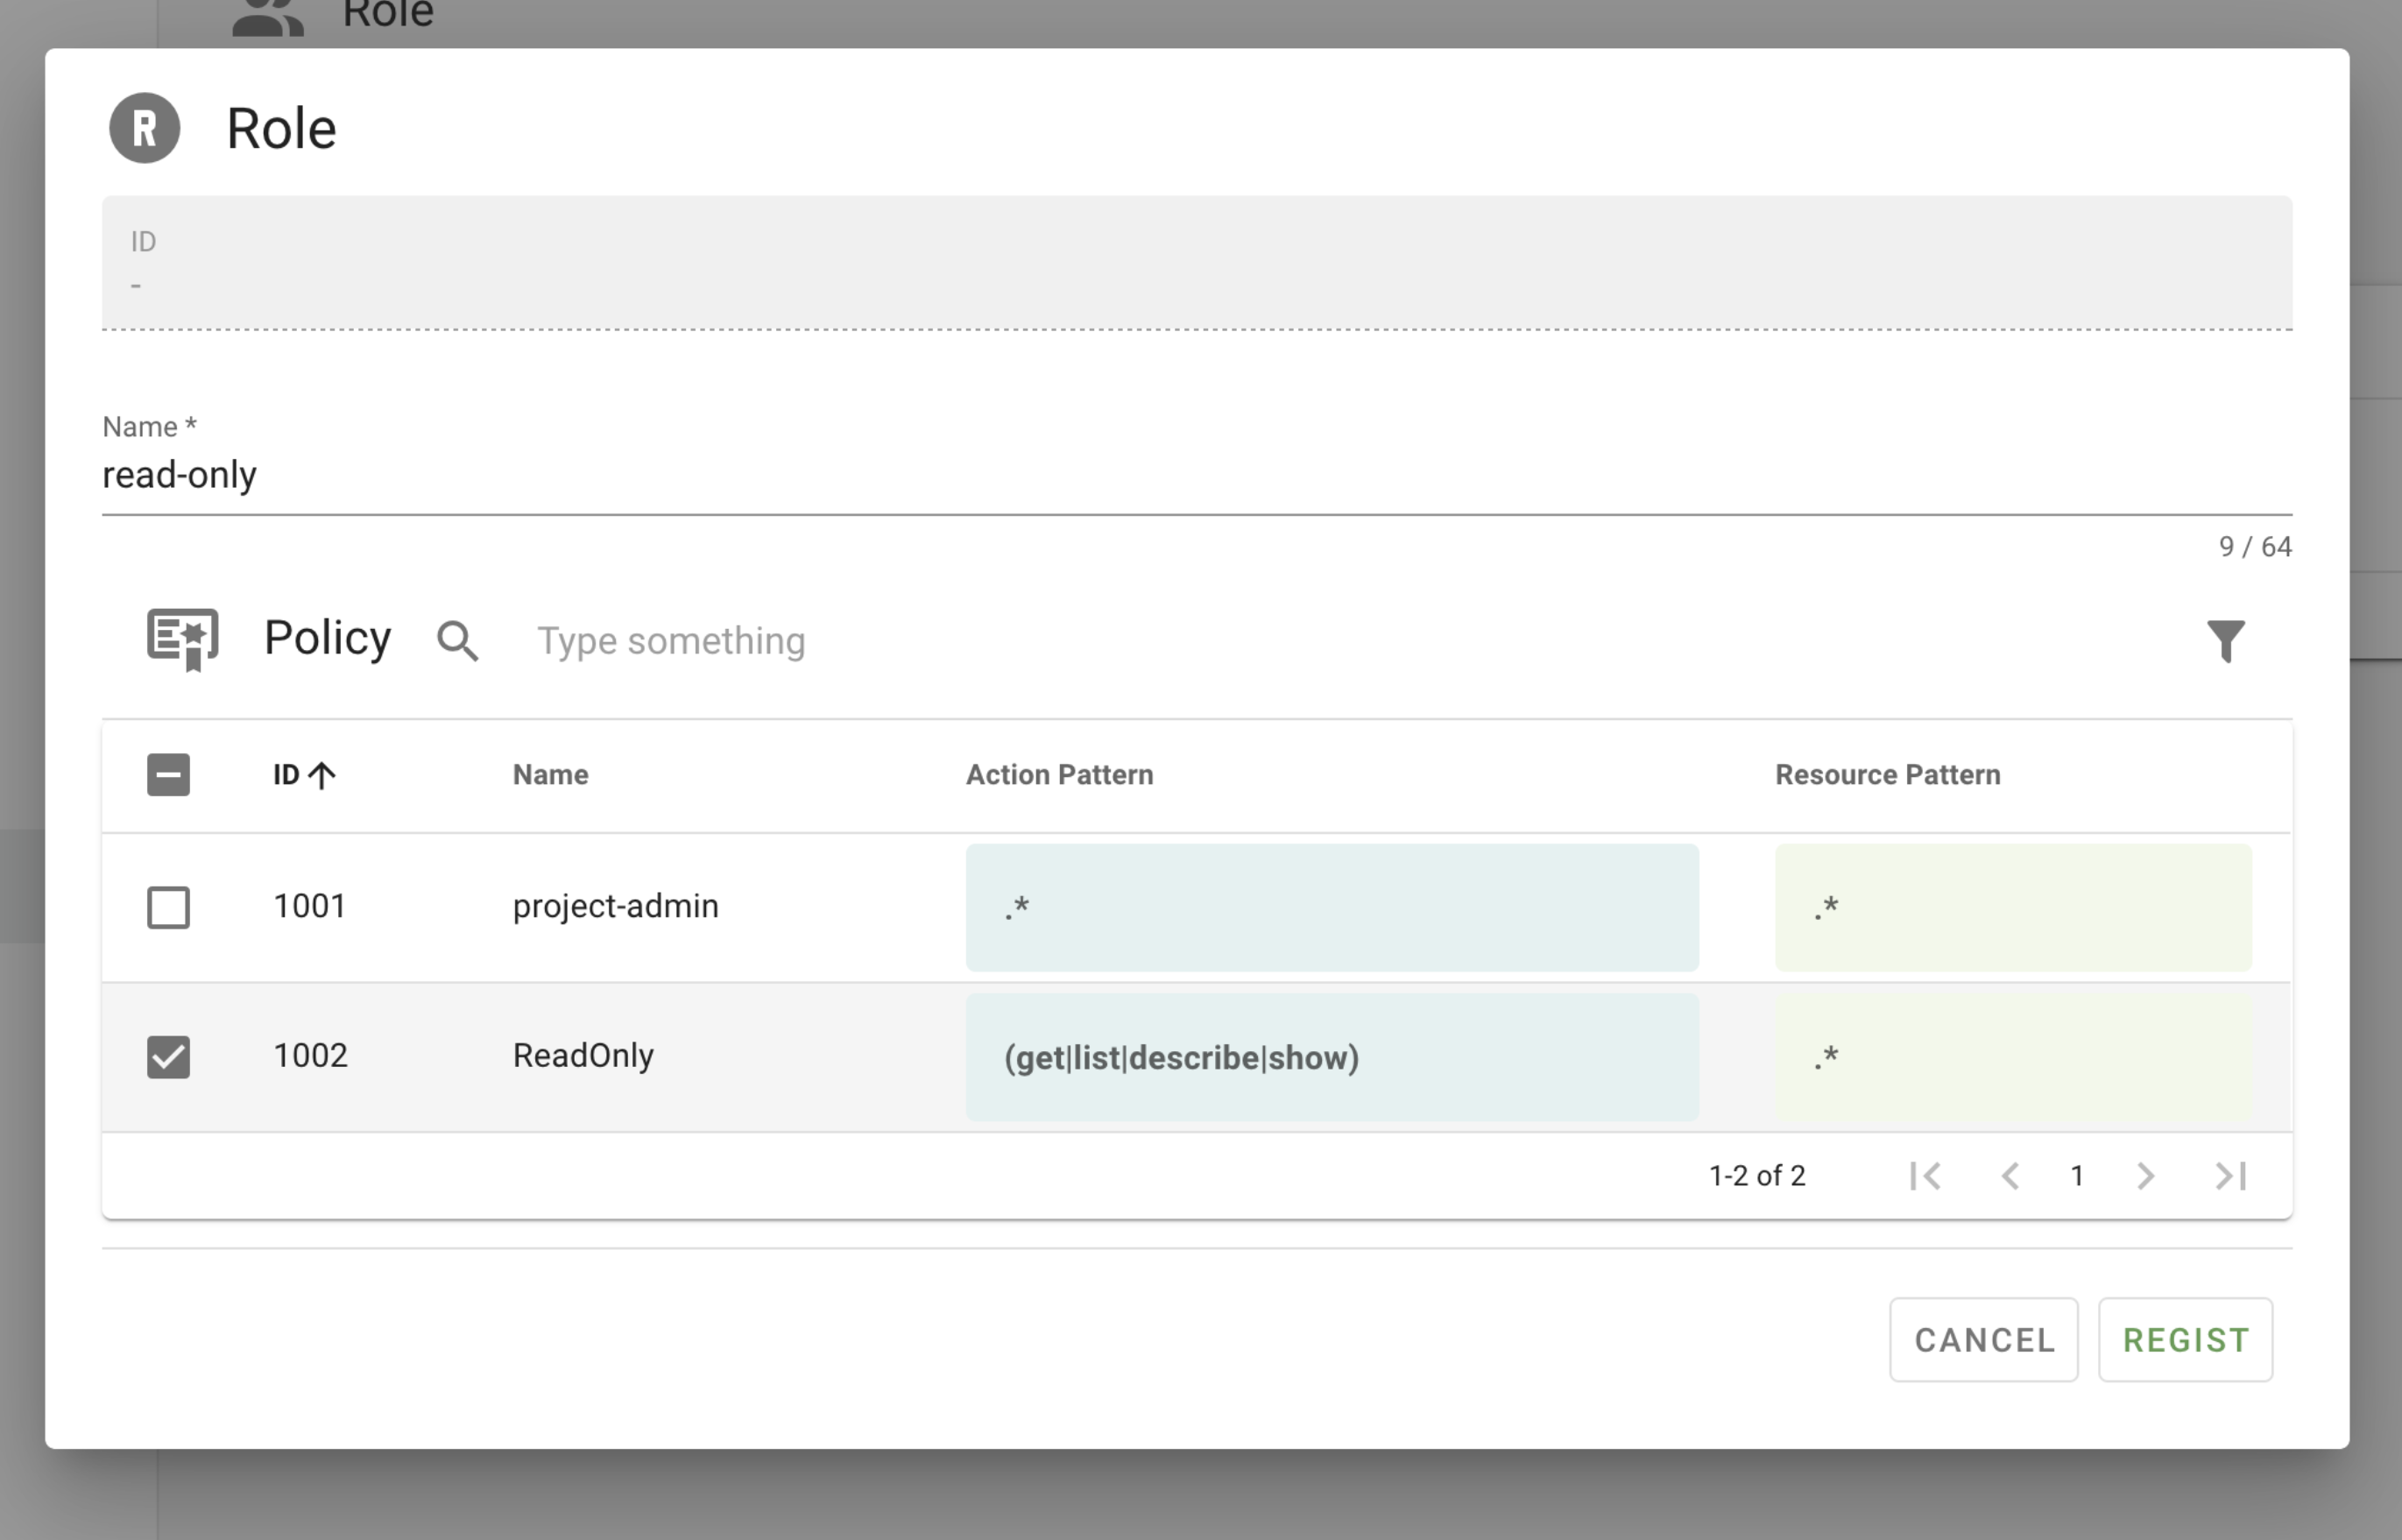
- Click
IAM > Roleon the left menu. - Click
NEWon the right side of the screen. - Enter the following in the role dialog and click
REGIST.- Name: Role name
- Policy: Select the policy you want to associate with the role.
Managing Organization Access Permissions
Granting Organization Roles to Users
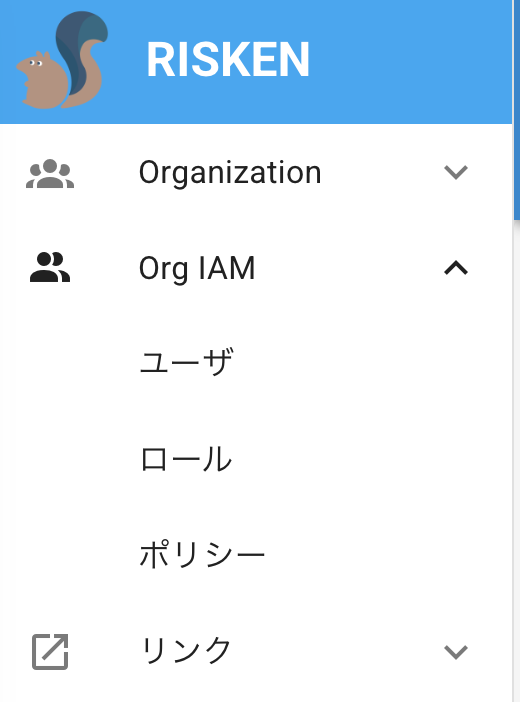
Organization permissions are managed by Organization IAM, which is different from the IAM used for projects described earlier.
The operation method is the same as project IAM, so please refer to Managing Project Access Permissions for details.
Inheriting Organization IAM to Projects
Users with permissions in an Organization will have the same permissions for projects that belong to that Organization (inheritance).
Specifically, when a user with an Organization role accesses a project belonging to that Organization, the Organization's role policy is applied.
Note
Organization roles are evaluated after the project's role permissions are checked.