Setting up AWS data sources on RISKEN
- Click
AWS > AWSfrom the menu to go to the AWS settings screen. - Click
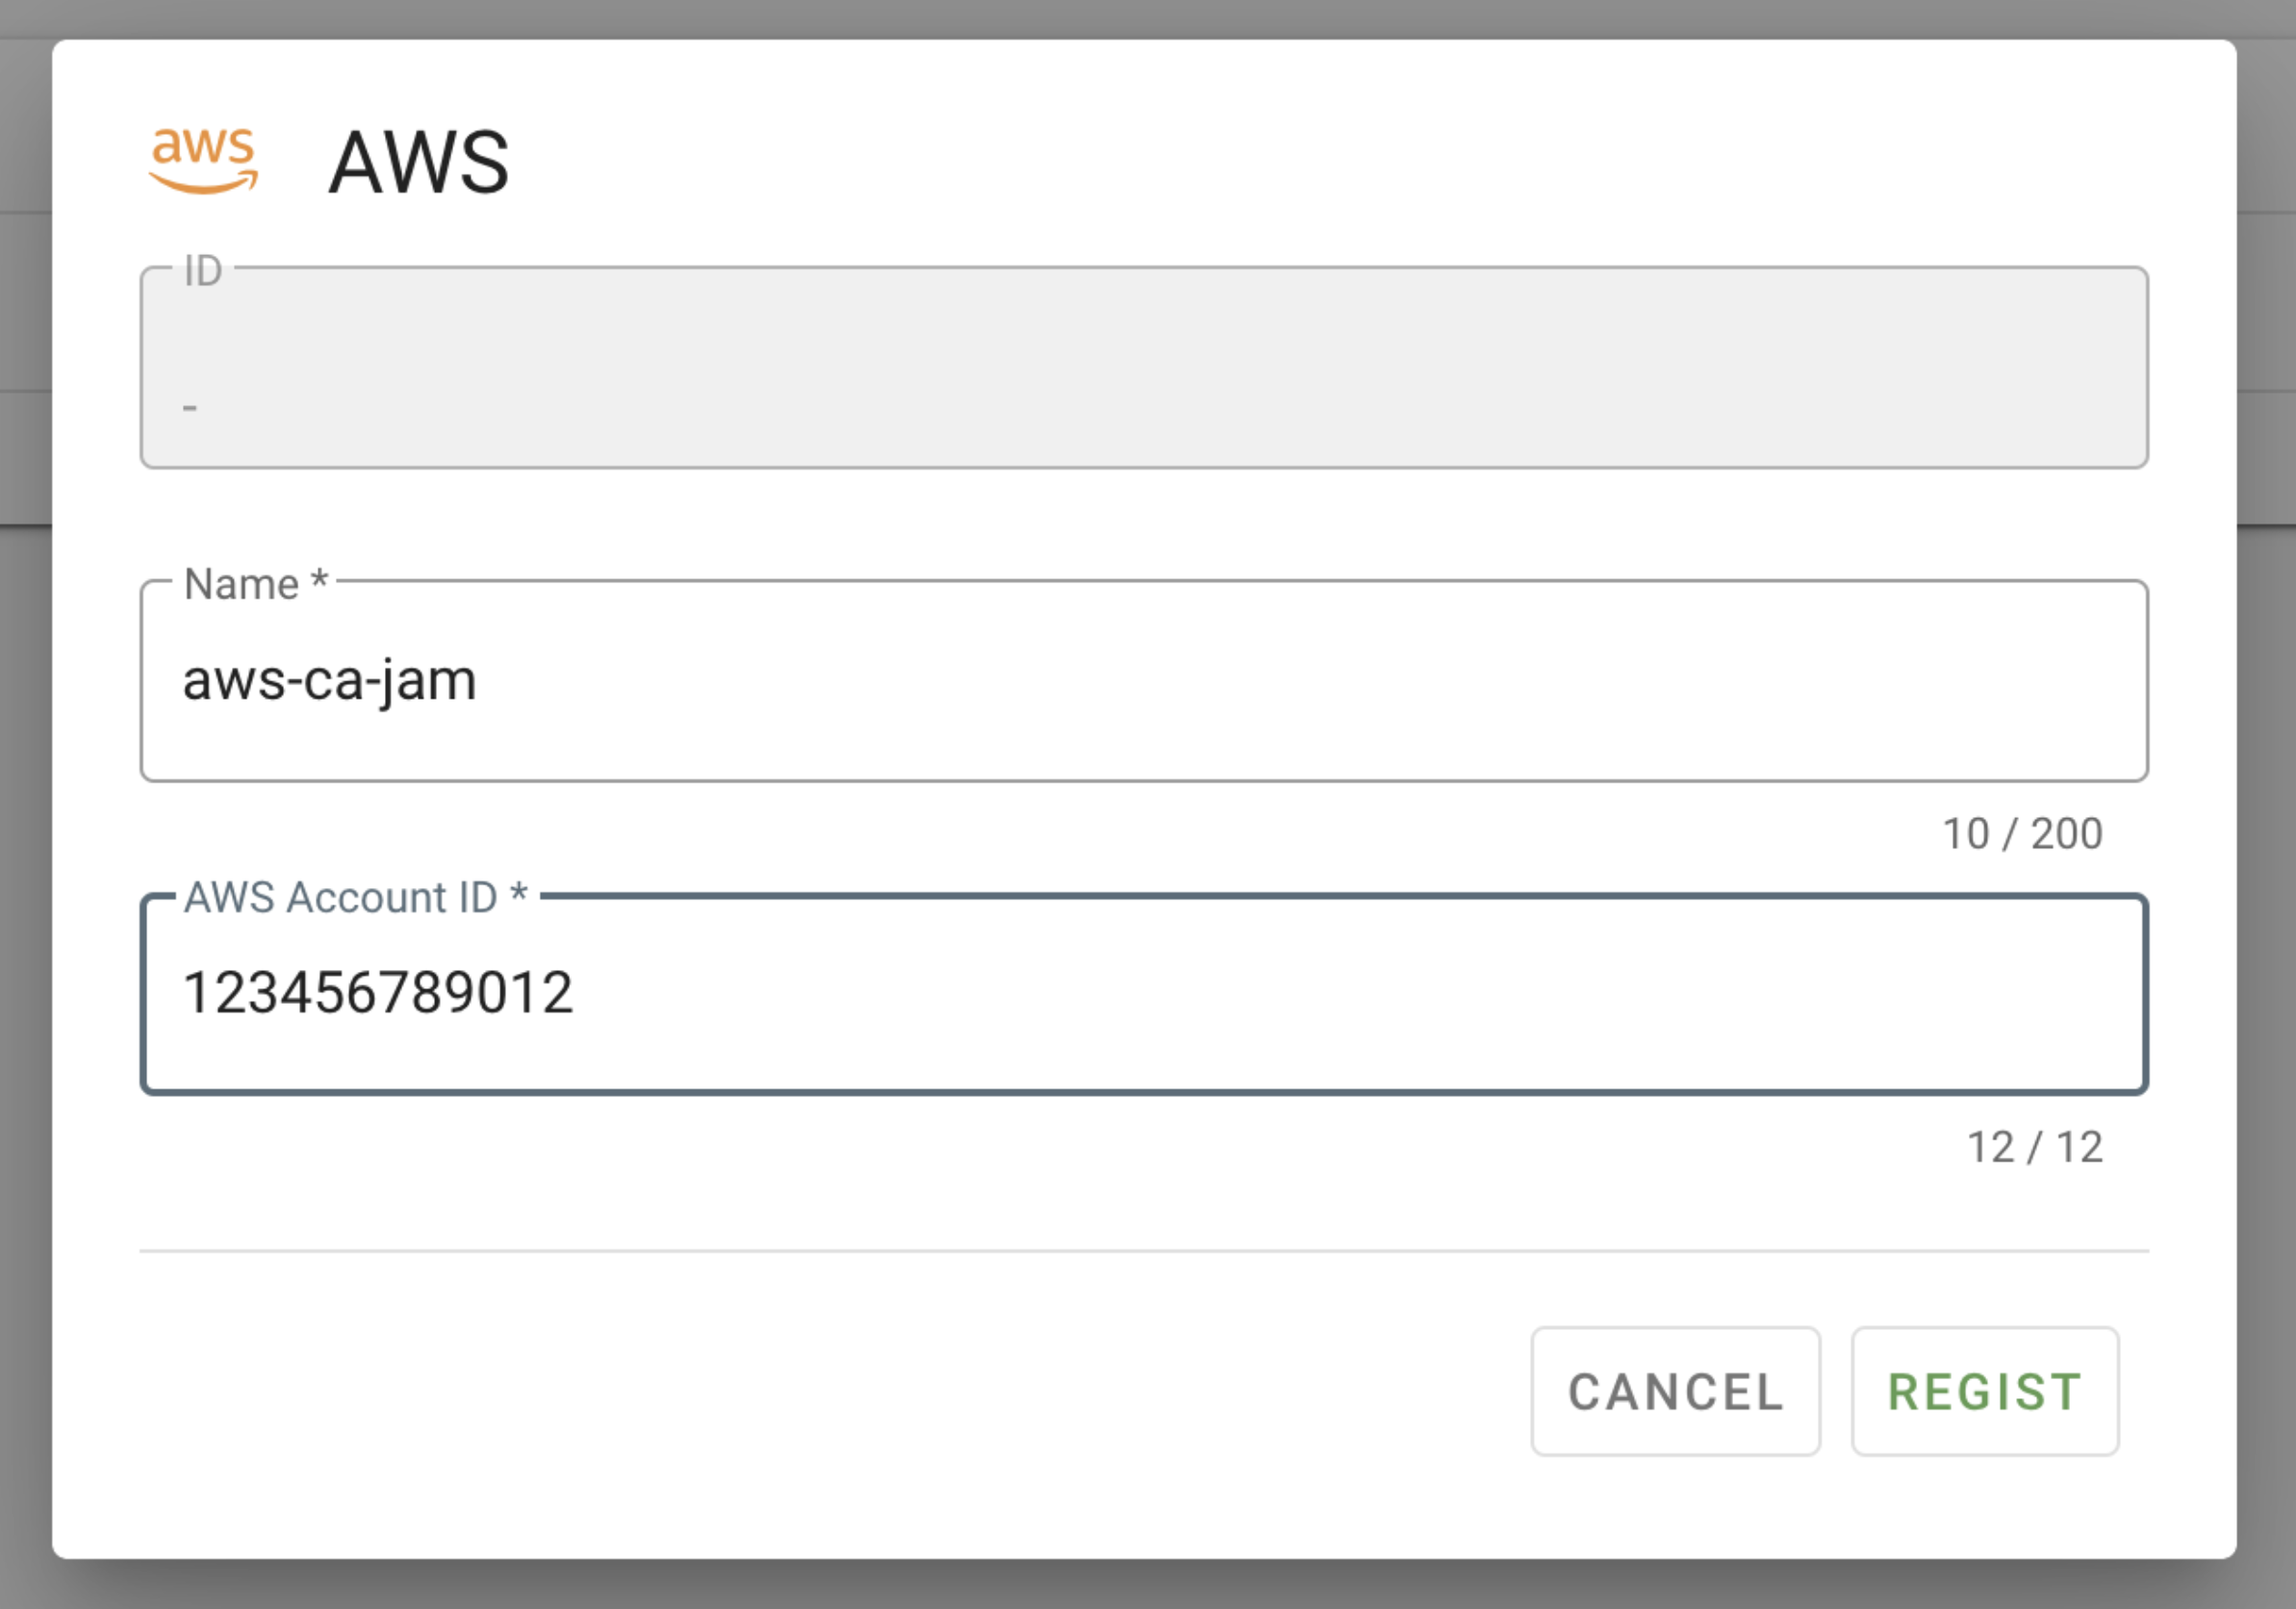
NEWon the right side of the screen. - In the AWS dialog, enter the following items and click
REGIST.- Name: Your AWS name (the one you want to scan).
- AWS Account ID: Your AWS account ID (12 digits).
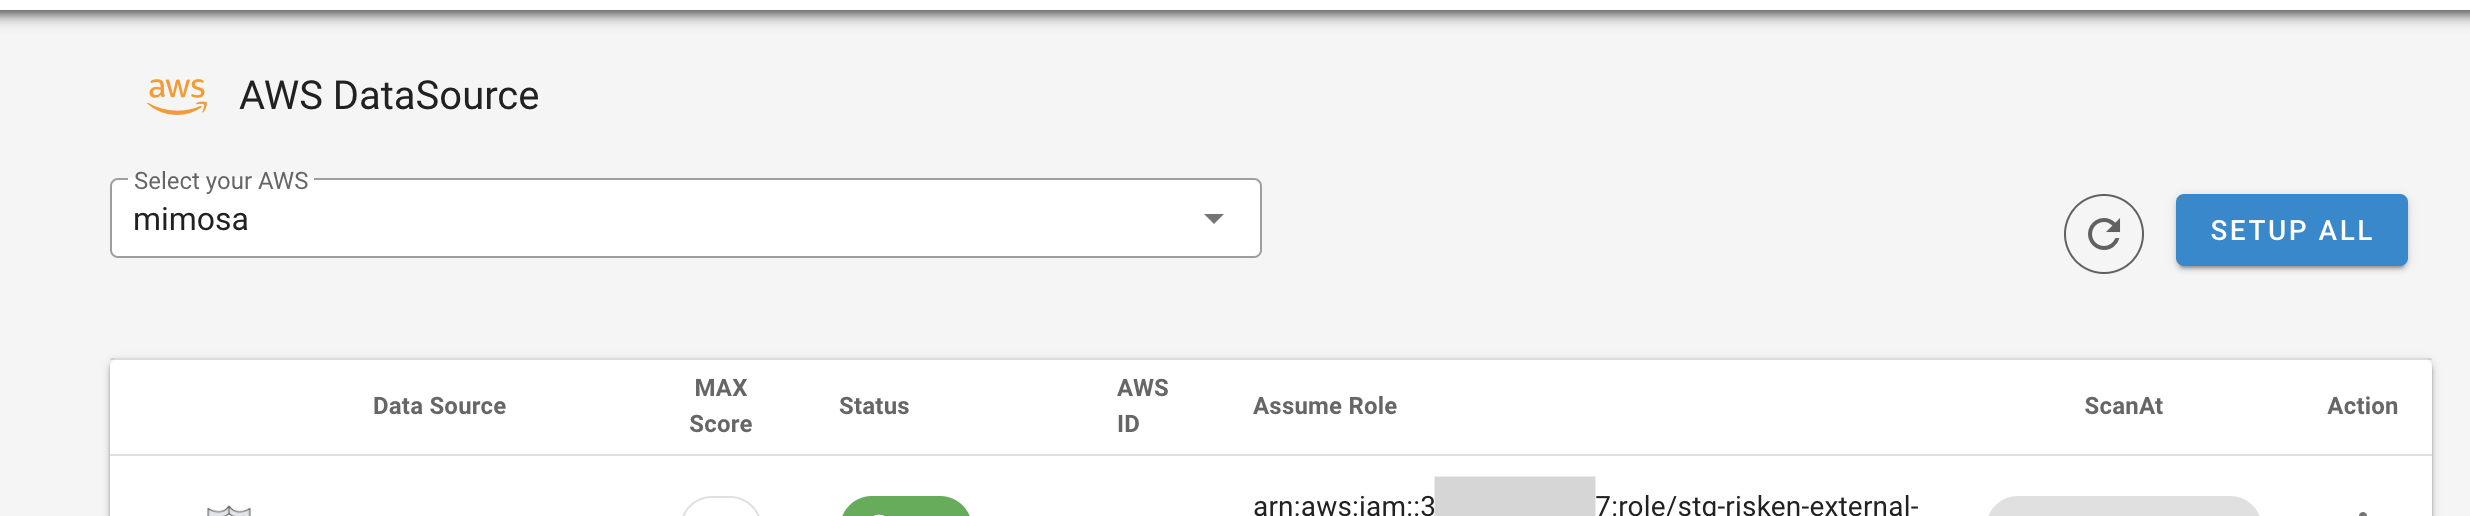
- After registering your AWS account, click the data row in the list to open the AWS data source screen.
- Click
SETUP ALLon the upper right side of the list. -
In the dialog, set the following items and click
ATTACH ALL.- AssumeRole: Enter the ARN of the IAM role you are planning to create later.
arn:aws:iam::{AWS account ID}:role/RISKEN- Here, we use "RISKEN" as the role name, but you can use any role name.
-
External ID: Click the
AUTO-GENERATE EXTERNAL IDbutton to set a random string.Note
- RISKEN's environment monitors multiple AWS environments.
- It is necessary to distinguish your AWS from other projects so that they do not reference it.
- When RISKEN references your AWS environment, it identifies it using an external ID.
- AssumeRole: Enter the ARN of the IAM role you are planning to create later.
-

-
The
AssumeRoleandExternalIDyou set here will be needed when creating the IAM role later. - Use the (copy button) as needed.