Project
All data on RISKEN is distinguished and stored by project. Here, we explain the flow for creating a project.
Creating a new project
- Click the
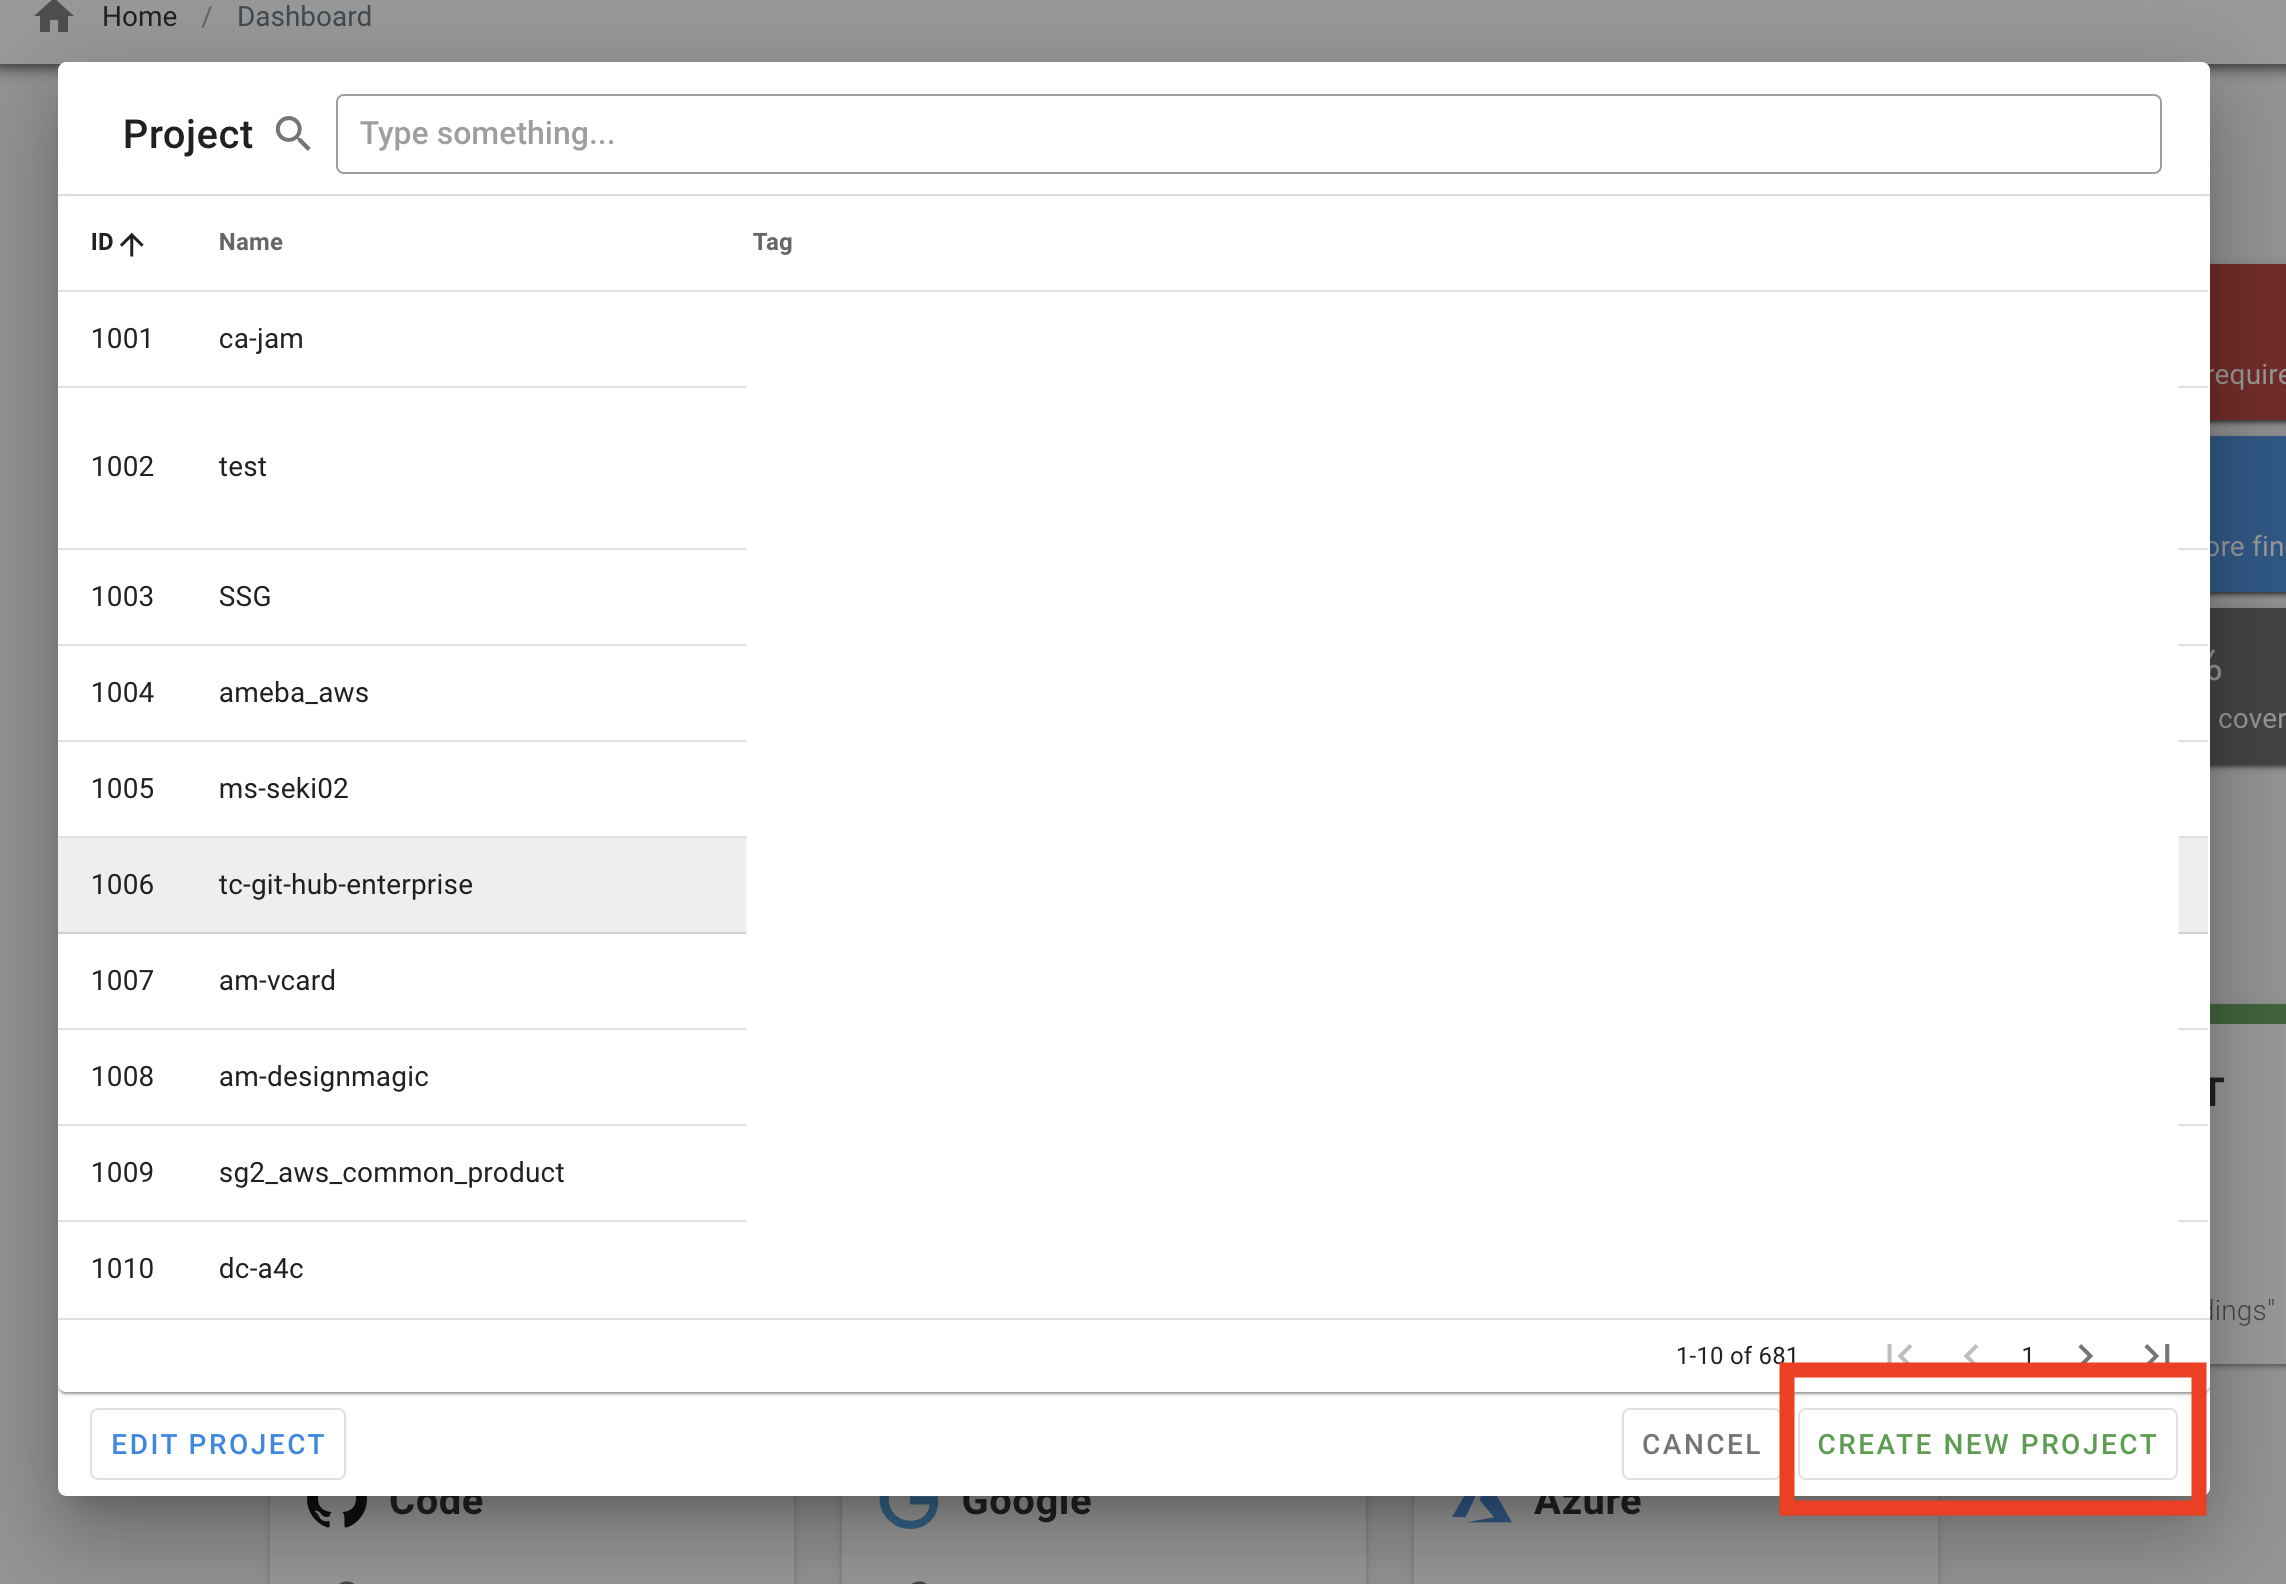
Pbutton on the menu screen - Click the
CREATE NEW PROJECTbutton in the project dialog - Enter the project name on the project creation screen and click
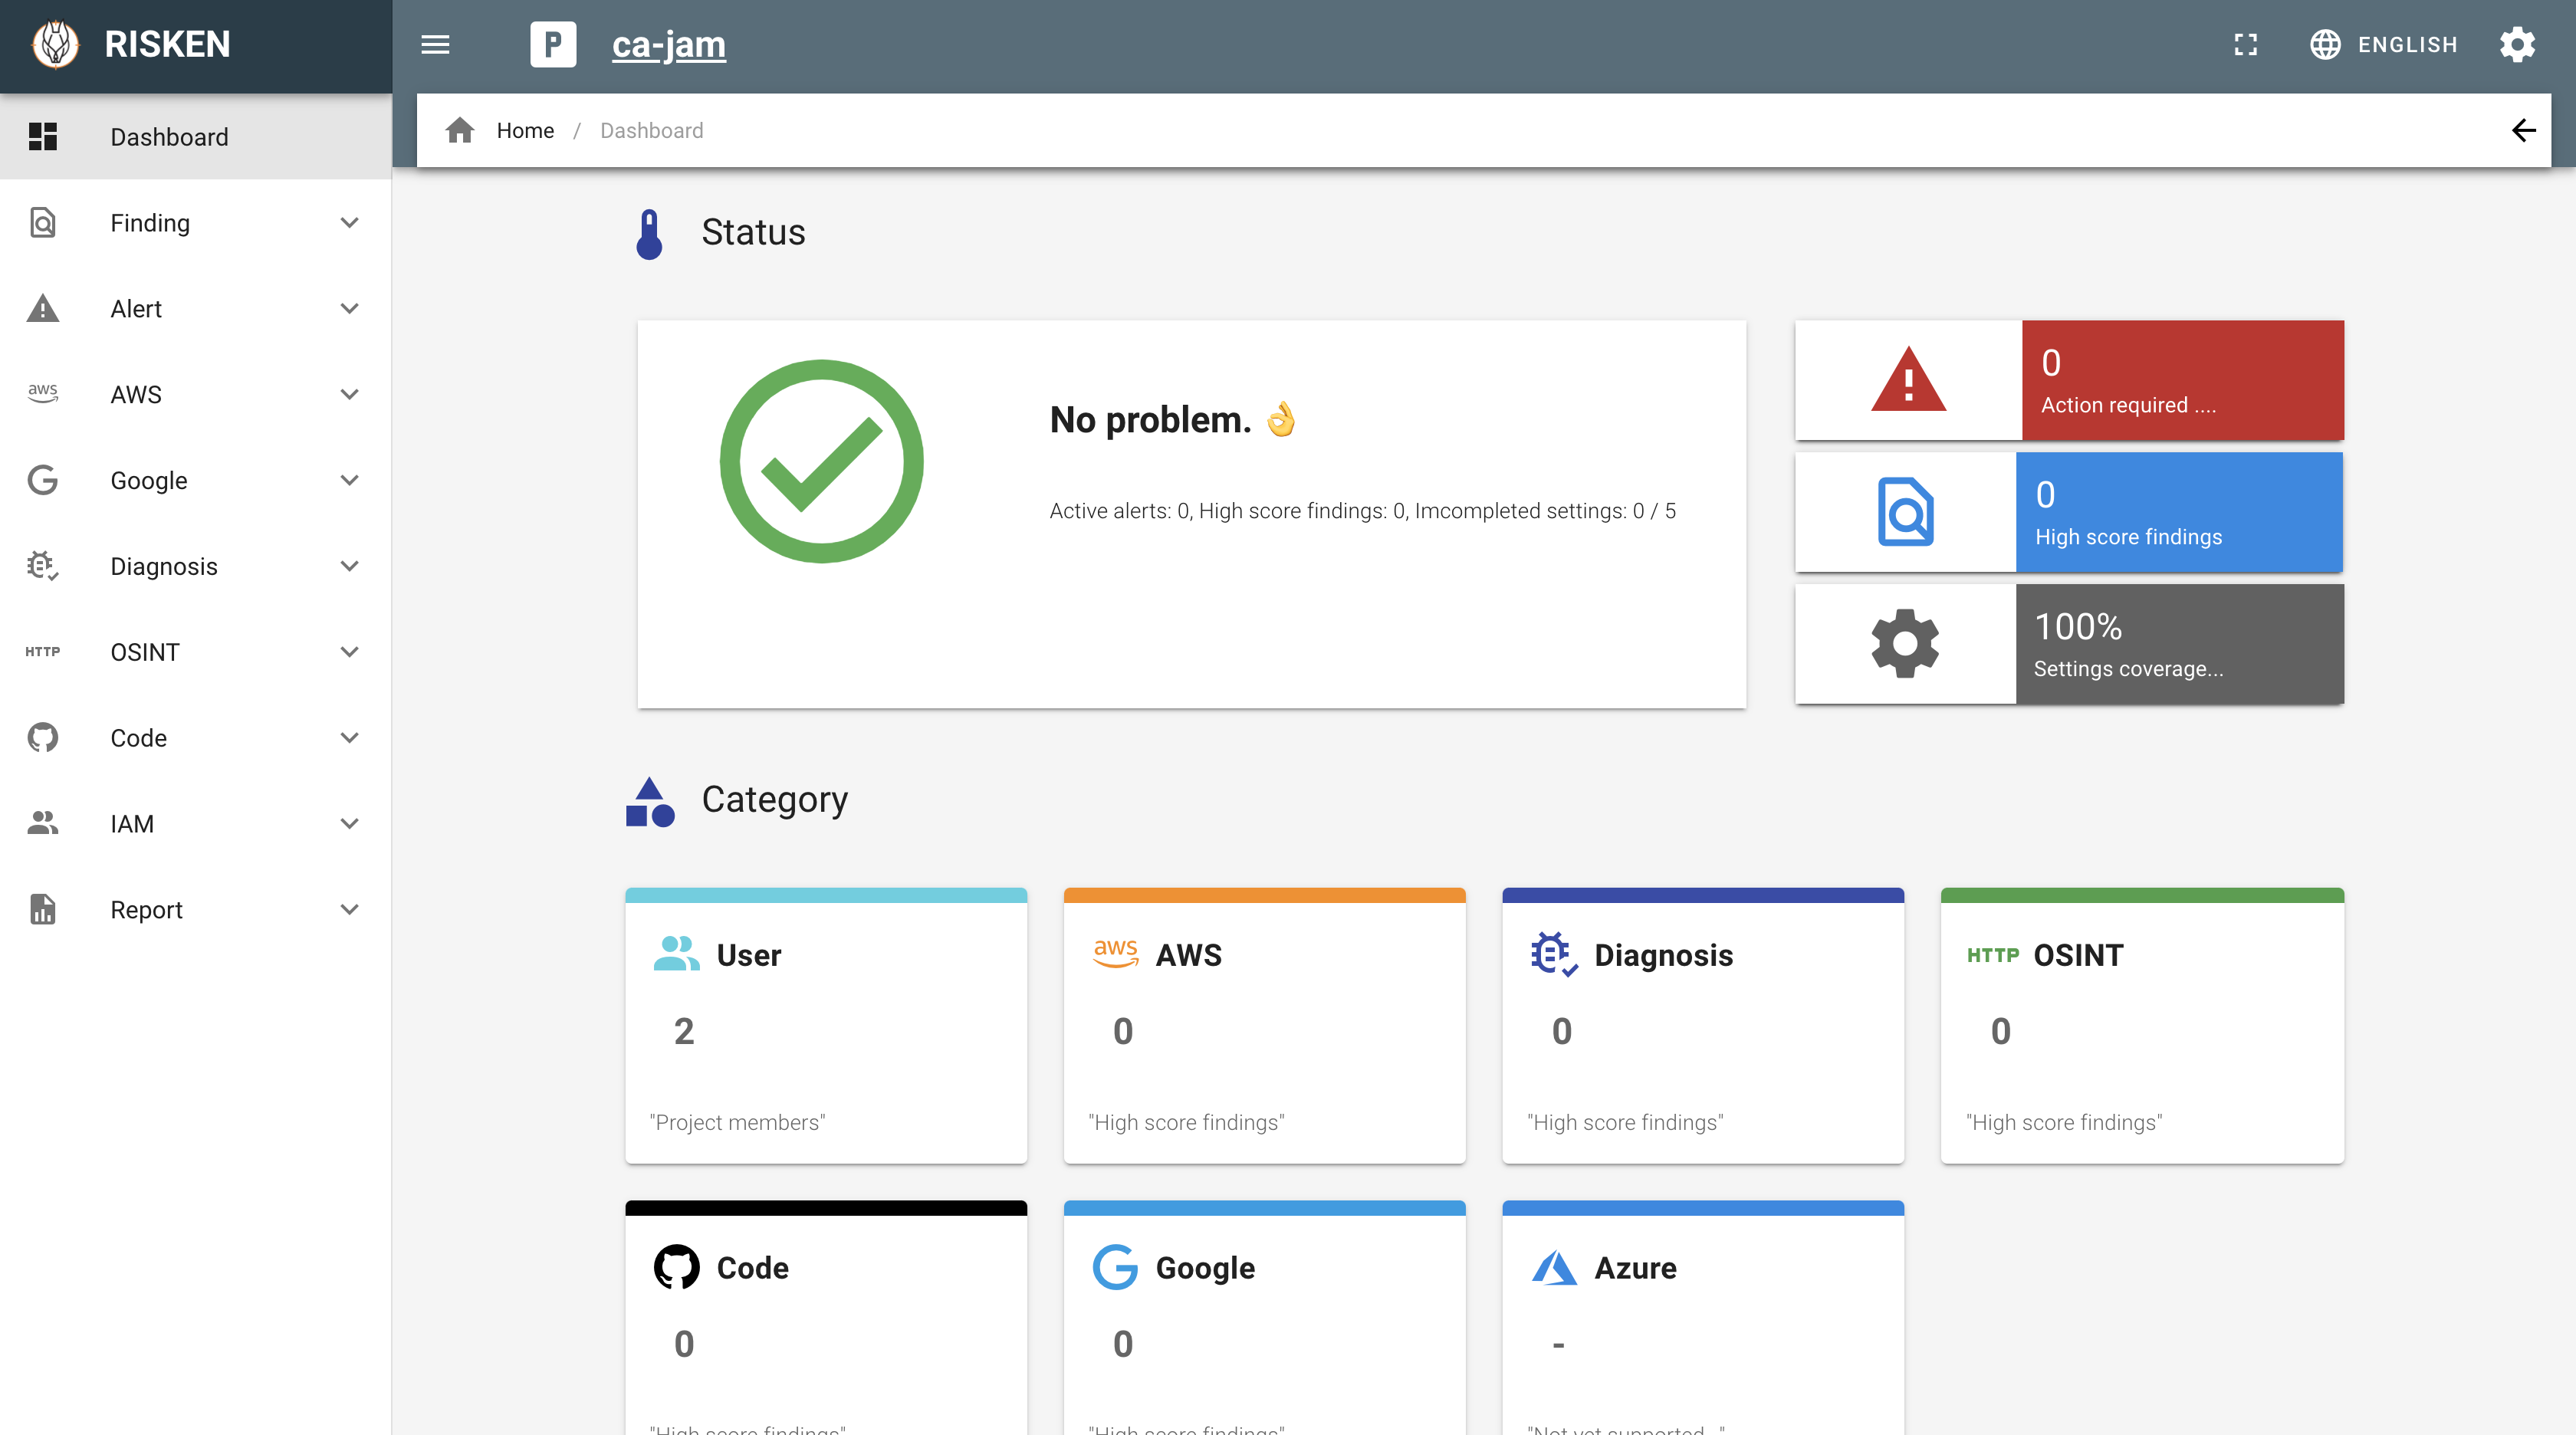
CREATE - After creation is complete, the project name will be displayed in the
Psection of the top menu and the screen will transition to the project dashboard
Editing a project
- Click the
Pbutton on the menu screen - Click the
EDIT PROJECTbutton in the project dialog - The project editing screen will be displayed
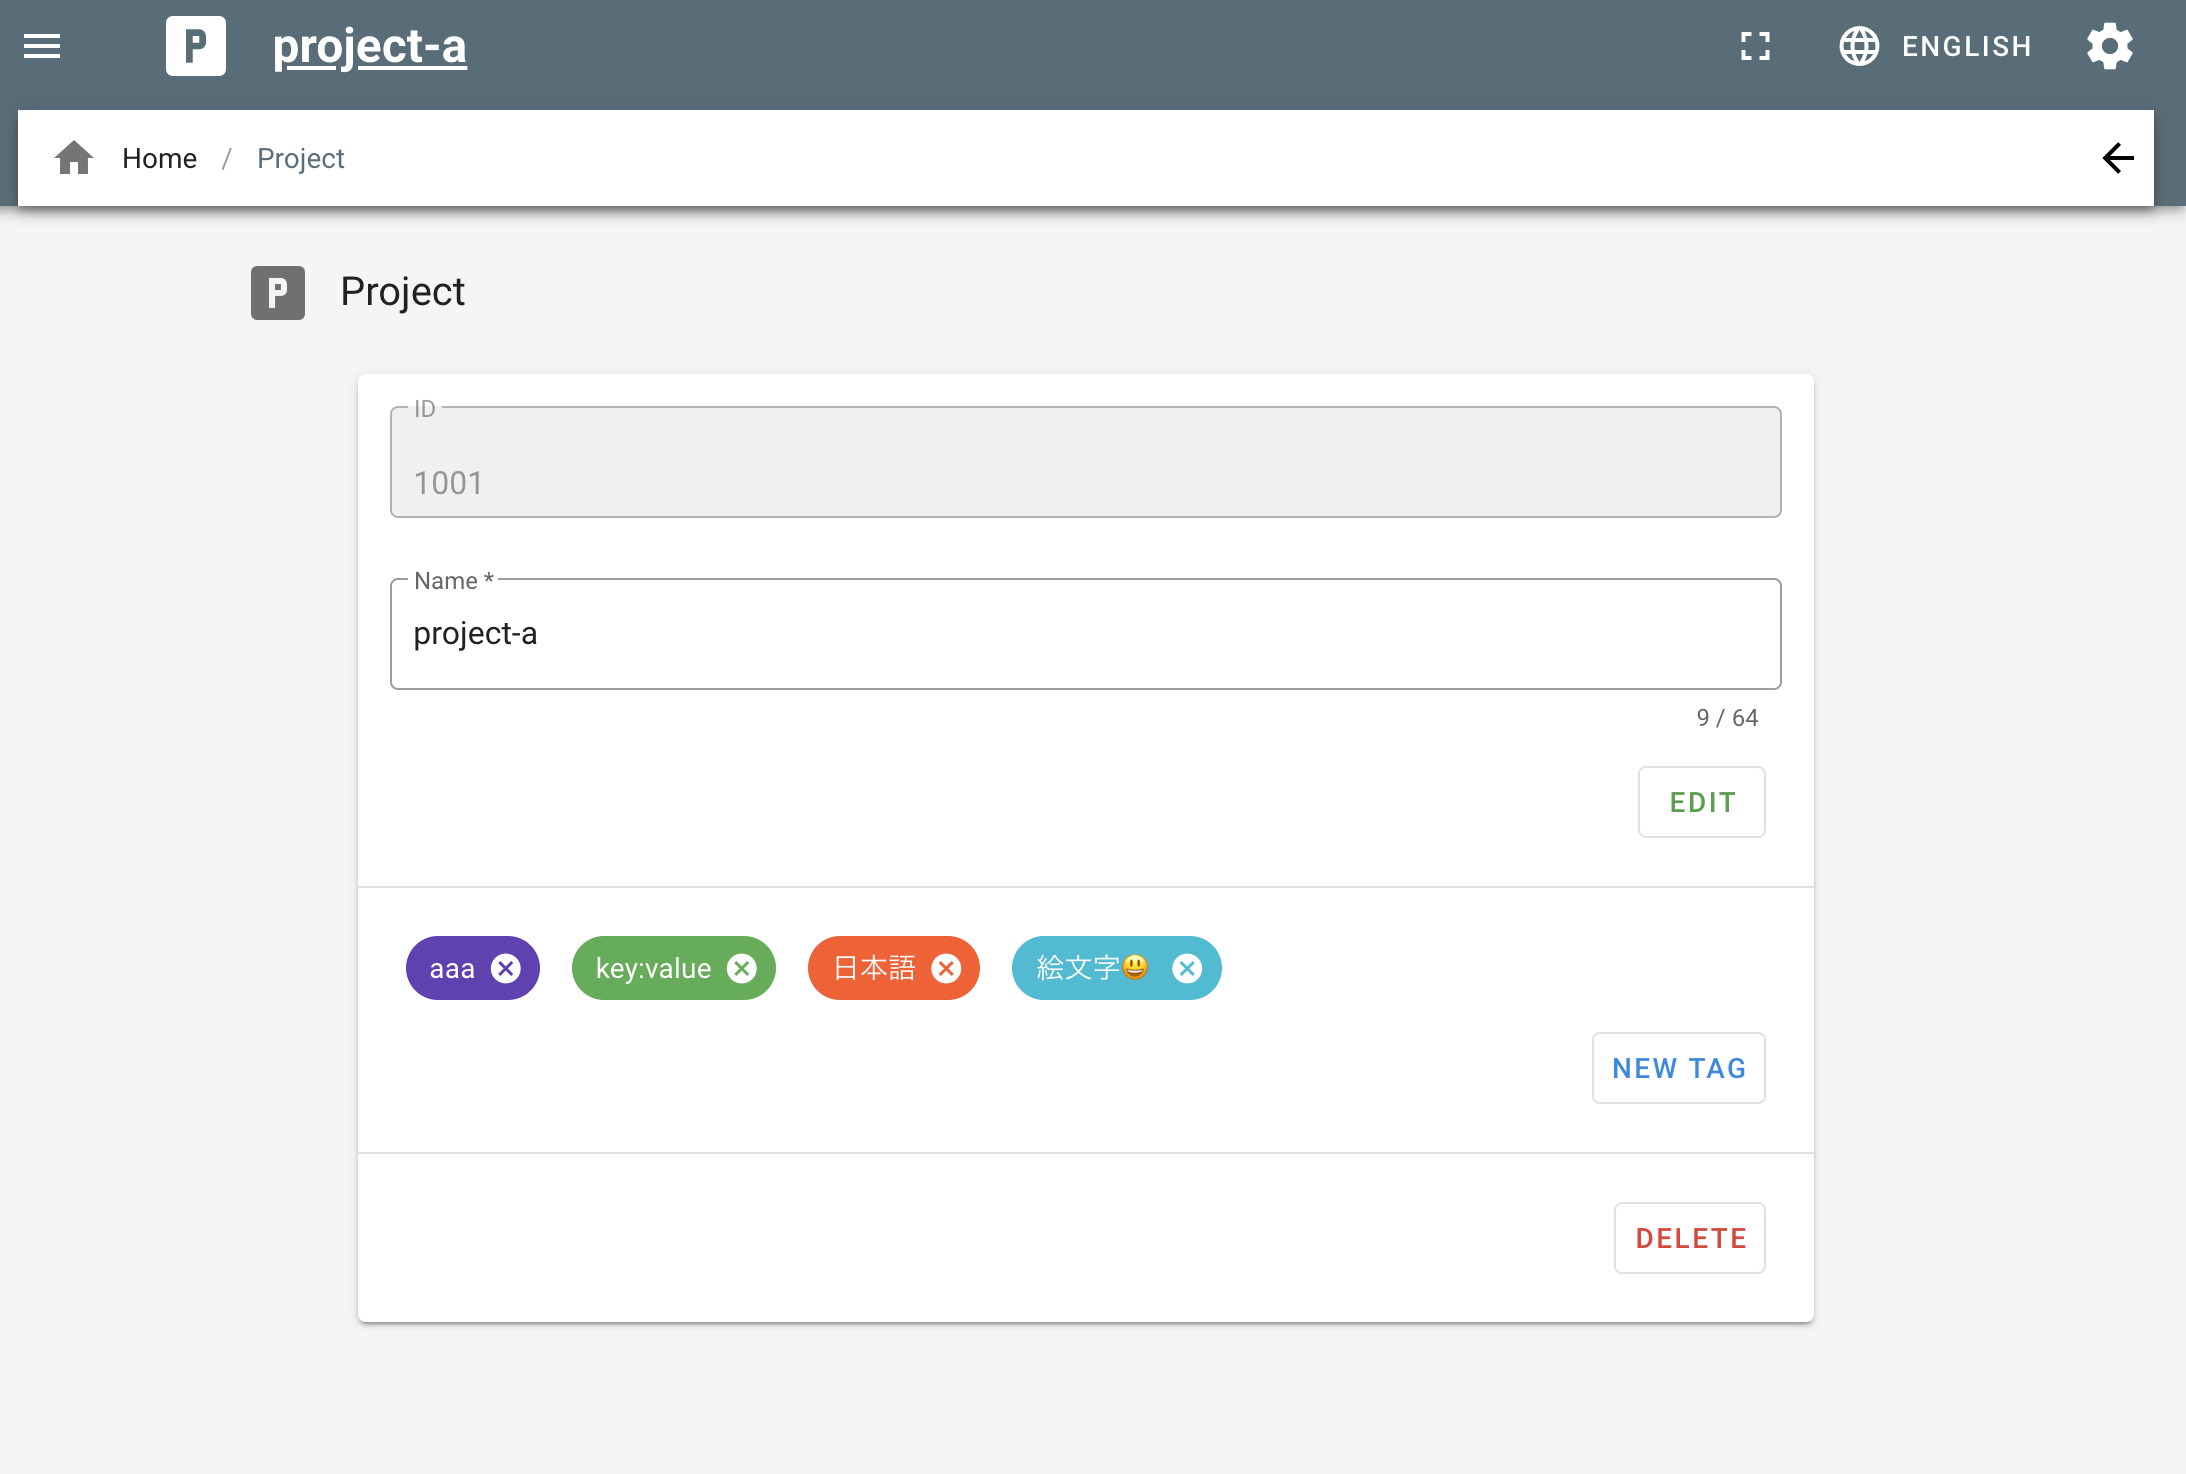
- If you want to change the project name, edit
Nameand click theEDITbutton.
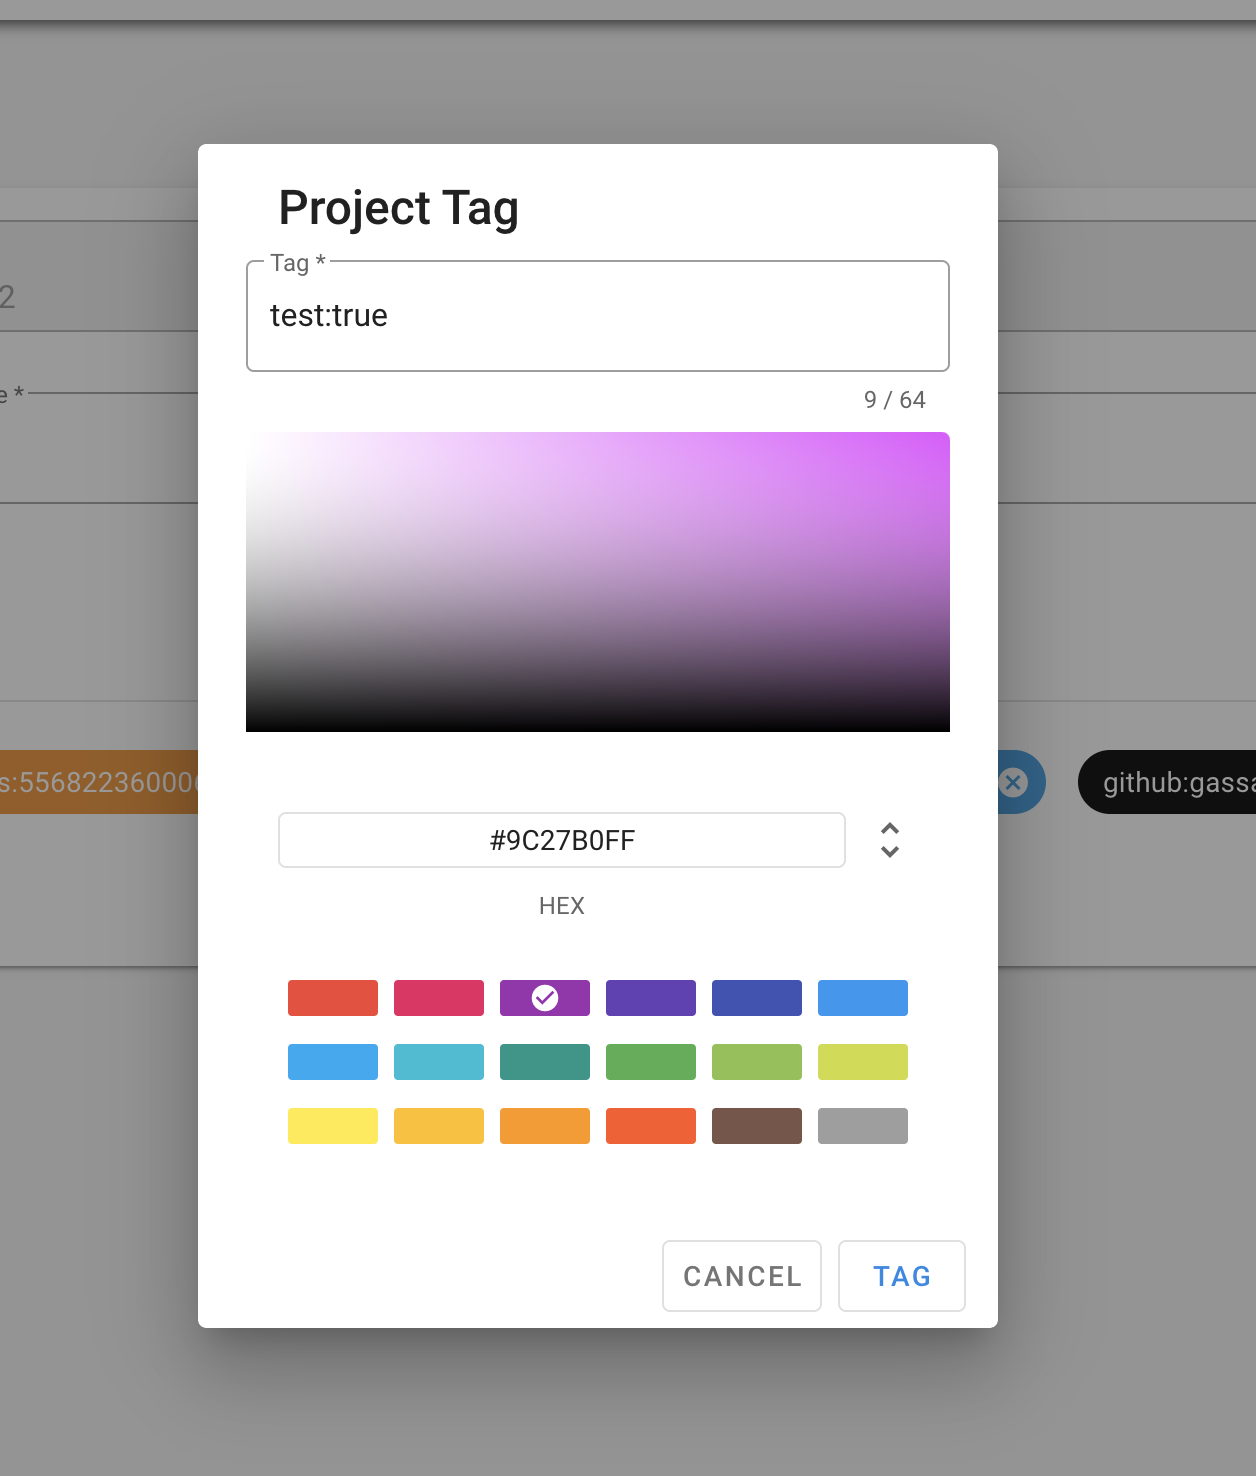
Project tags
By setting project tags, you can search for keywords (tag search) when switching projects.
Some project tags are automatically set when adding data sources, but you can also set arbitrary tags.
- Click the
Pbutton on the menu screen - Click the
EDIT PROJECTbutton in the project dialog - The project editing screen will be displayed
- If you want to set a new tag, you can tag it from the
NEW TAGbutton. - If you want to edit a tag that has already been set, click on the tag you want to edit.
- You can set a color for the tag (which can help organize things with color coding when searching)
Deleting a project
To delete a project, please follow the steps below.
Warning
Be careful as there is a possibility that you will not be able to undo the deletion of the project.
- Click the
Pbutton on the menu screen - Click the
EDIT PROJECTbutton in the project dialog - The project editing screen will be displayed
- Click the
DELETEbutton.